As my two weeks of spending time taking care of my dad in the hospital wind down and he is headed home tomorrow I am excited to get back to working on my posts and doing some more canning for the holidays. Many of you have been watching and waiting for Santa to bring you a new shiny pressure canner. I don’t have to be there when it happens to know that your head will be spinning with the ideas, recipes, and notions of what food you will put up first.
I remember that feeling from the first time I saw my Presto walk in the door in a big box. I knew it was coming and was prepared days before with produce, dried beans, and my Ball Blue book tagged with post-its of what I was processing over the week. I wasn’t nervous or scared about starting her up but headed straight on for the work to begin.
It was so awesome to be able to do almost the same process to fill the jars and prep them as the water bath canning prescribed. I knew I had that down cold with over 40 jars of jams, pickles, tomatoes and other low acid foods sitting in the pantry. I just followed the basic instructions on how much to fill the canner with water and followed the ball book for the rest. The Presto, she was a champ, new sounds and dials to read, but in the end it was just as easy as water bath canning.
Matthew, my good friend on Facebook, decided to endeavored 200 lbs of sweet potatoes to put up over the last few weeks. For him it’s a labor of love and providing for his family with all the craziness that a new baby can bring. He was finishing up his last 14lbs tonight and I wanted to do double homage to not only a step by step of pressure canning but to burn into his mind and remind Mary Katherine when she gets older about the dedication daddy had to getting all 140+ quarts of them completed. (Yes he hand peeled all 200lbs.)
Thank you Matthew for your friendship and time in providing shots for this great post for my site!
Pressure canning Step by Step (Sweet Potatoes)
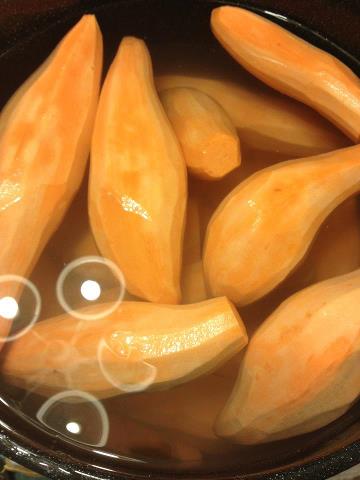
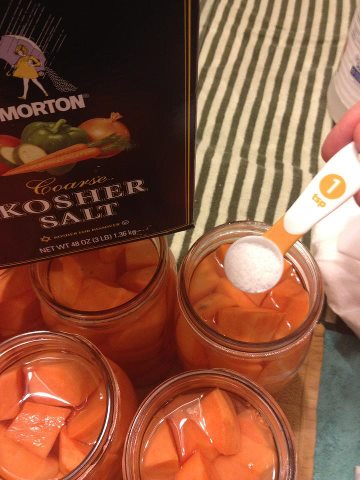
little bit of lemon juice (idea from Bren)
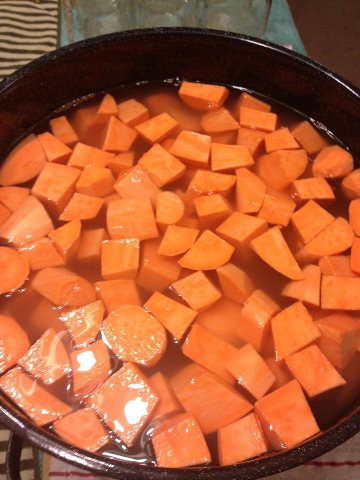
while they are waiting to be cut up.
Put 2-3 inches of hot water in canner.
Follow what the specific instructions say on your manufacturers manual.
Bring the water to a simmer while you are filling the jars!
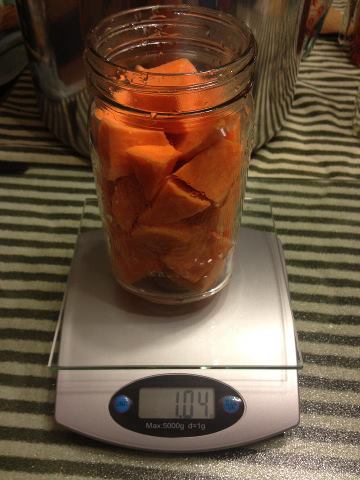
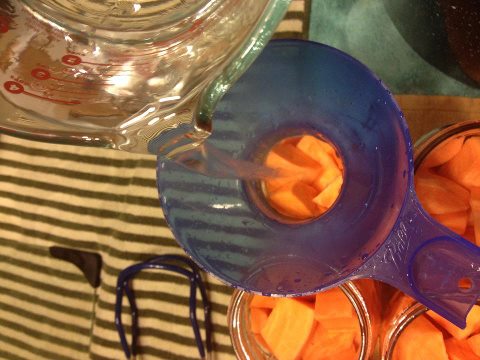

Add hot lids and rings and tighten “finger” tight!
Place filled jars on the rack, using a jar lifter. Fasten canner lid securely.
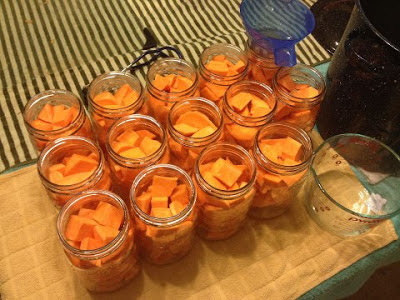
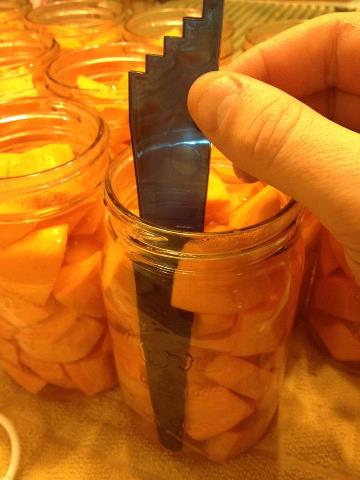
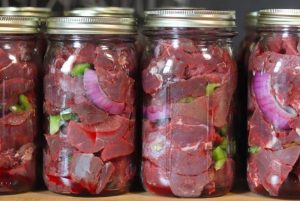
7 Quart of Sweet Potatoes Ready to go!

You might have some condensation coming from under the weight or
pressure regulator during processing.
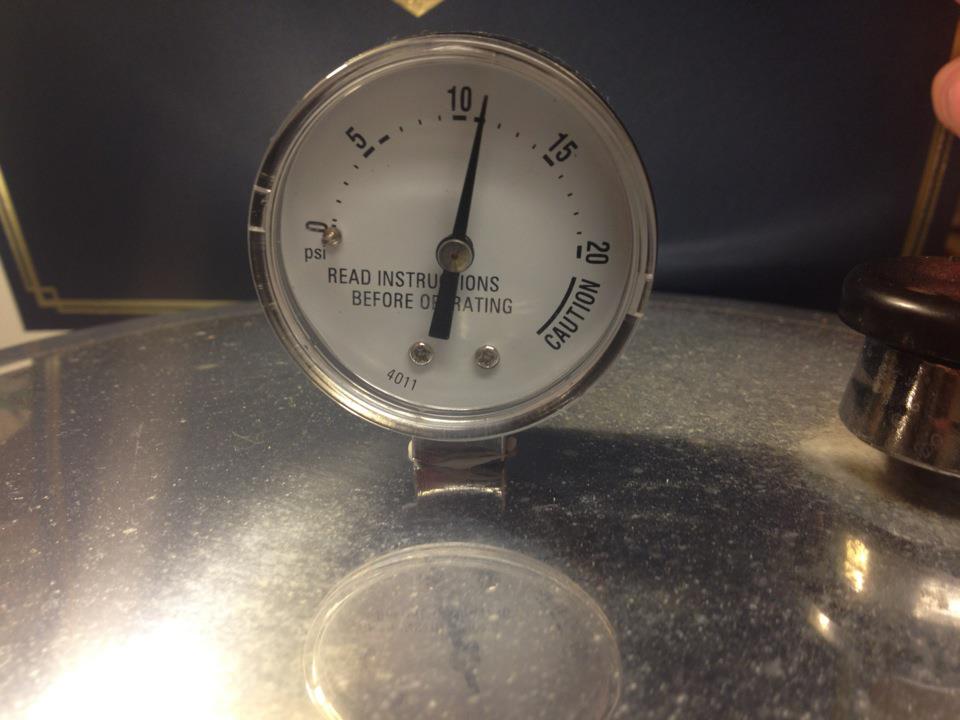
Once pressure gets to 11lbs start your time.
(Sweet Potatoes – 65 minutes for pints and 90 minutes for quarts)
Continue to adjust your heat to keep thepressure above 11lbs
without going up and down past 14lbs. It will take some finesse.Once your process time is complete turn off the heat. Do not move the canner off
the stove to cool. Let the pressure completely return to zero and let the ‘lid lock’
drop before attempting to open the canner.Lift the weight off the vent pipe then remove the lid lifting it away from you since the steam will be hot coming from the canner. Wait 10 minutes before lifting the jars out of the
canner so they can depressurize.
Lift the jars out and place on a towel on the counter and leave alone for 24 hours before
removing the rings, clean up the jars, and putting them in the pantry.


Leave a Reply