How to get started canning is fairly easy. You can do research and figure out whether or not this would be something that you would enjoy or add value to your life, but ultimately the answer will be yes. The rising cost of food and our ability to preserve the flavors and produce that we grow will be a lifelong skill that will make a huge difference in the future. Maybe you are reading this post because you have thought about making a strawberry or fruit jam, homemade pickles or canning the most popular produce, tomatoes.
Let’s first start with the equipment. This can be an investment of about $50 that will pay for itself by the end of summer or you can find some of the tools in your kitchen already.
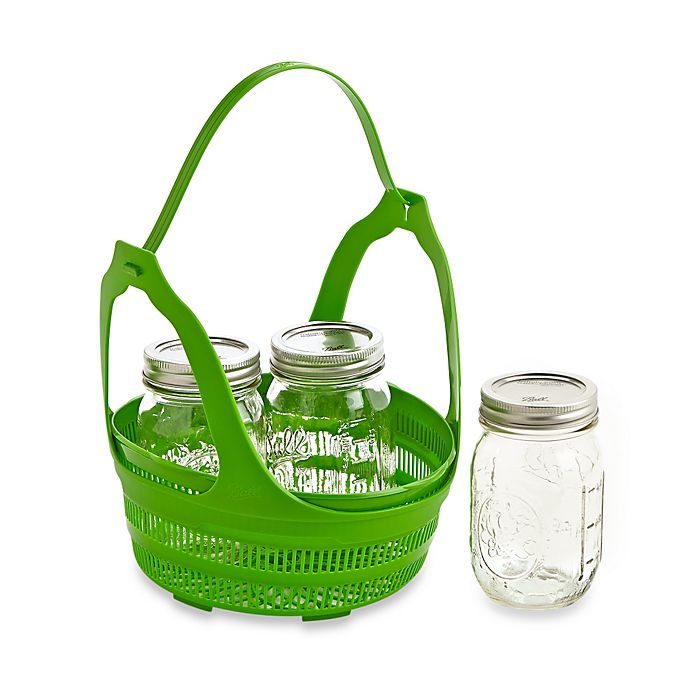
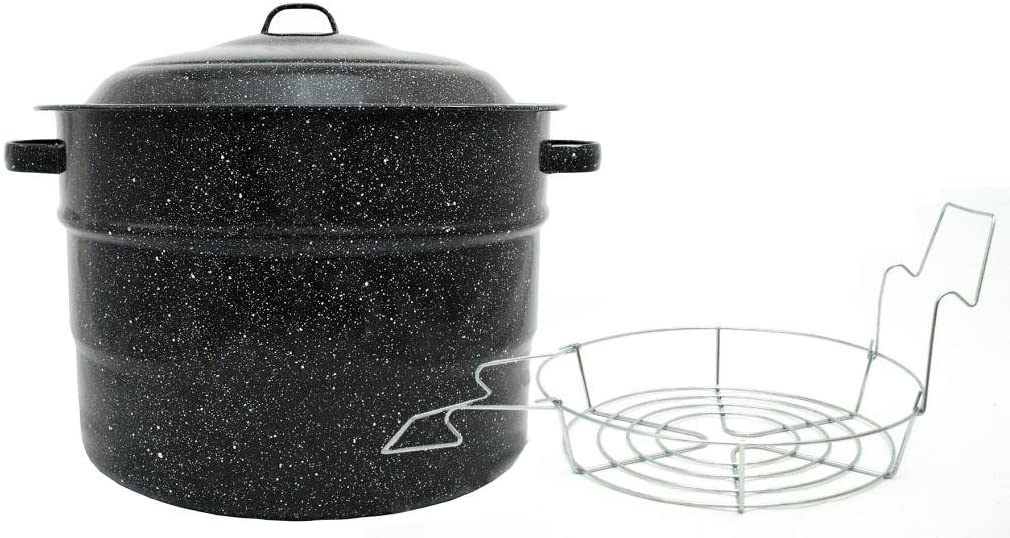
Water bath canners are widely available. You can use any big pot that has a lid, but it must be deep enough for the water to cover the tops of the canning jars by 1 to 2 inches inches. You will then want it to be about 2 to 4 inches taller since you are boiling the water and don’t want it boiling over and either putting out the flame or making a mess. The pot or canner will need a wire or wooden rack. The jars must sit off the bottom so the heat can penetrate properly. The rack also helps to keep the direct heat off the bottom of the jars to prevent cracking or breakage. A couple examples that people have in their homes may be a tamale pot or a pasta pot where there is an insert so that you can set the jars in the pot covered with water but not on the bottom. If you don’t have a rack you can purchase a starter kit for about $11. It is a basket that you can put the jars into and put them into your pot for processing. If you purchase this you will not need some of the tools which are also listed below. For a $20 investment you can get a traditional Graniteware pot which comes with an insert for canning.
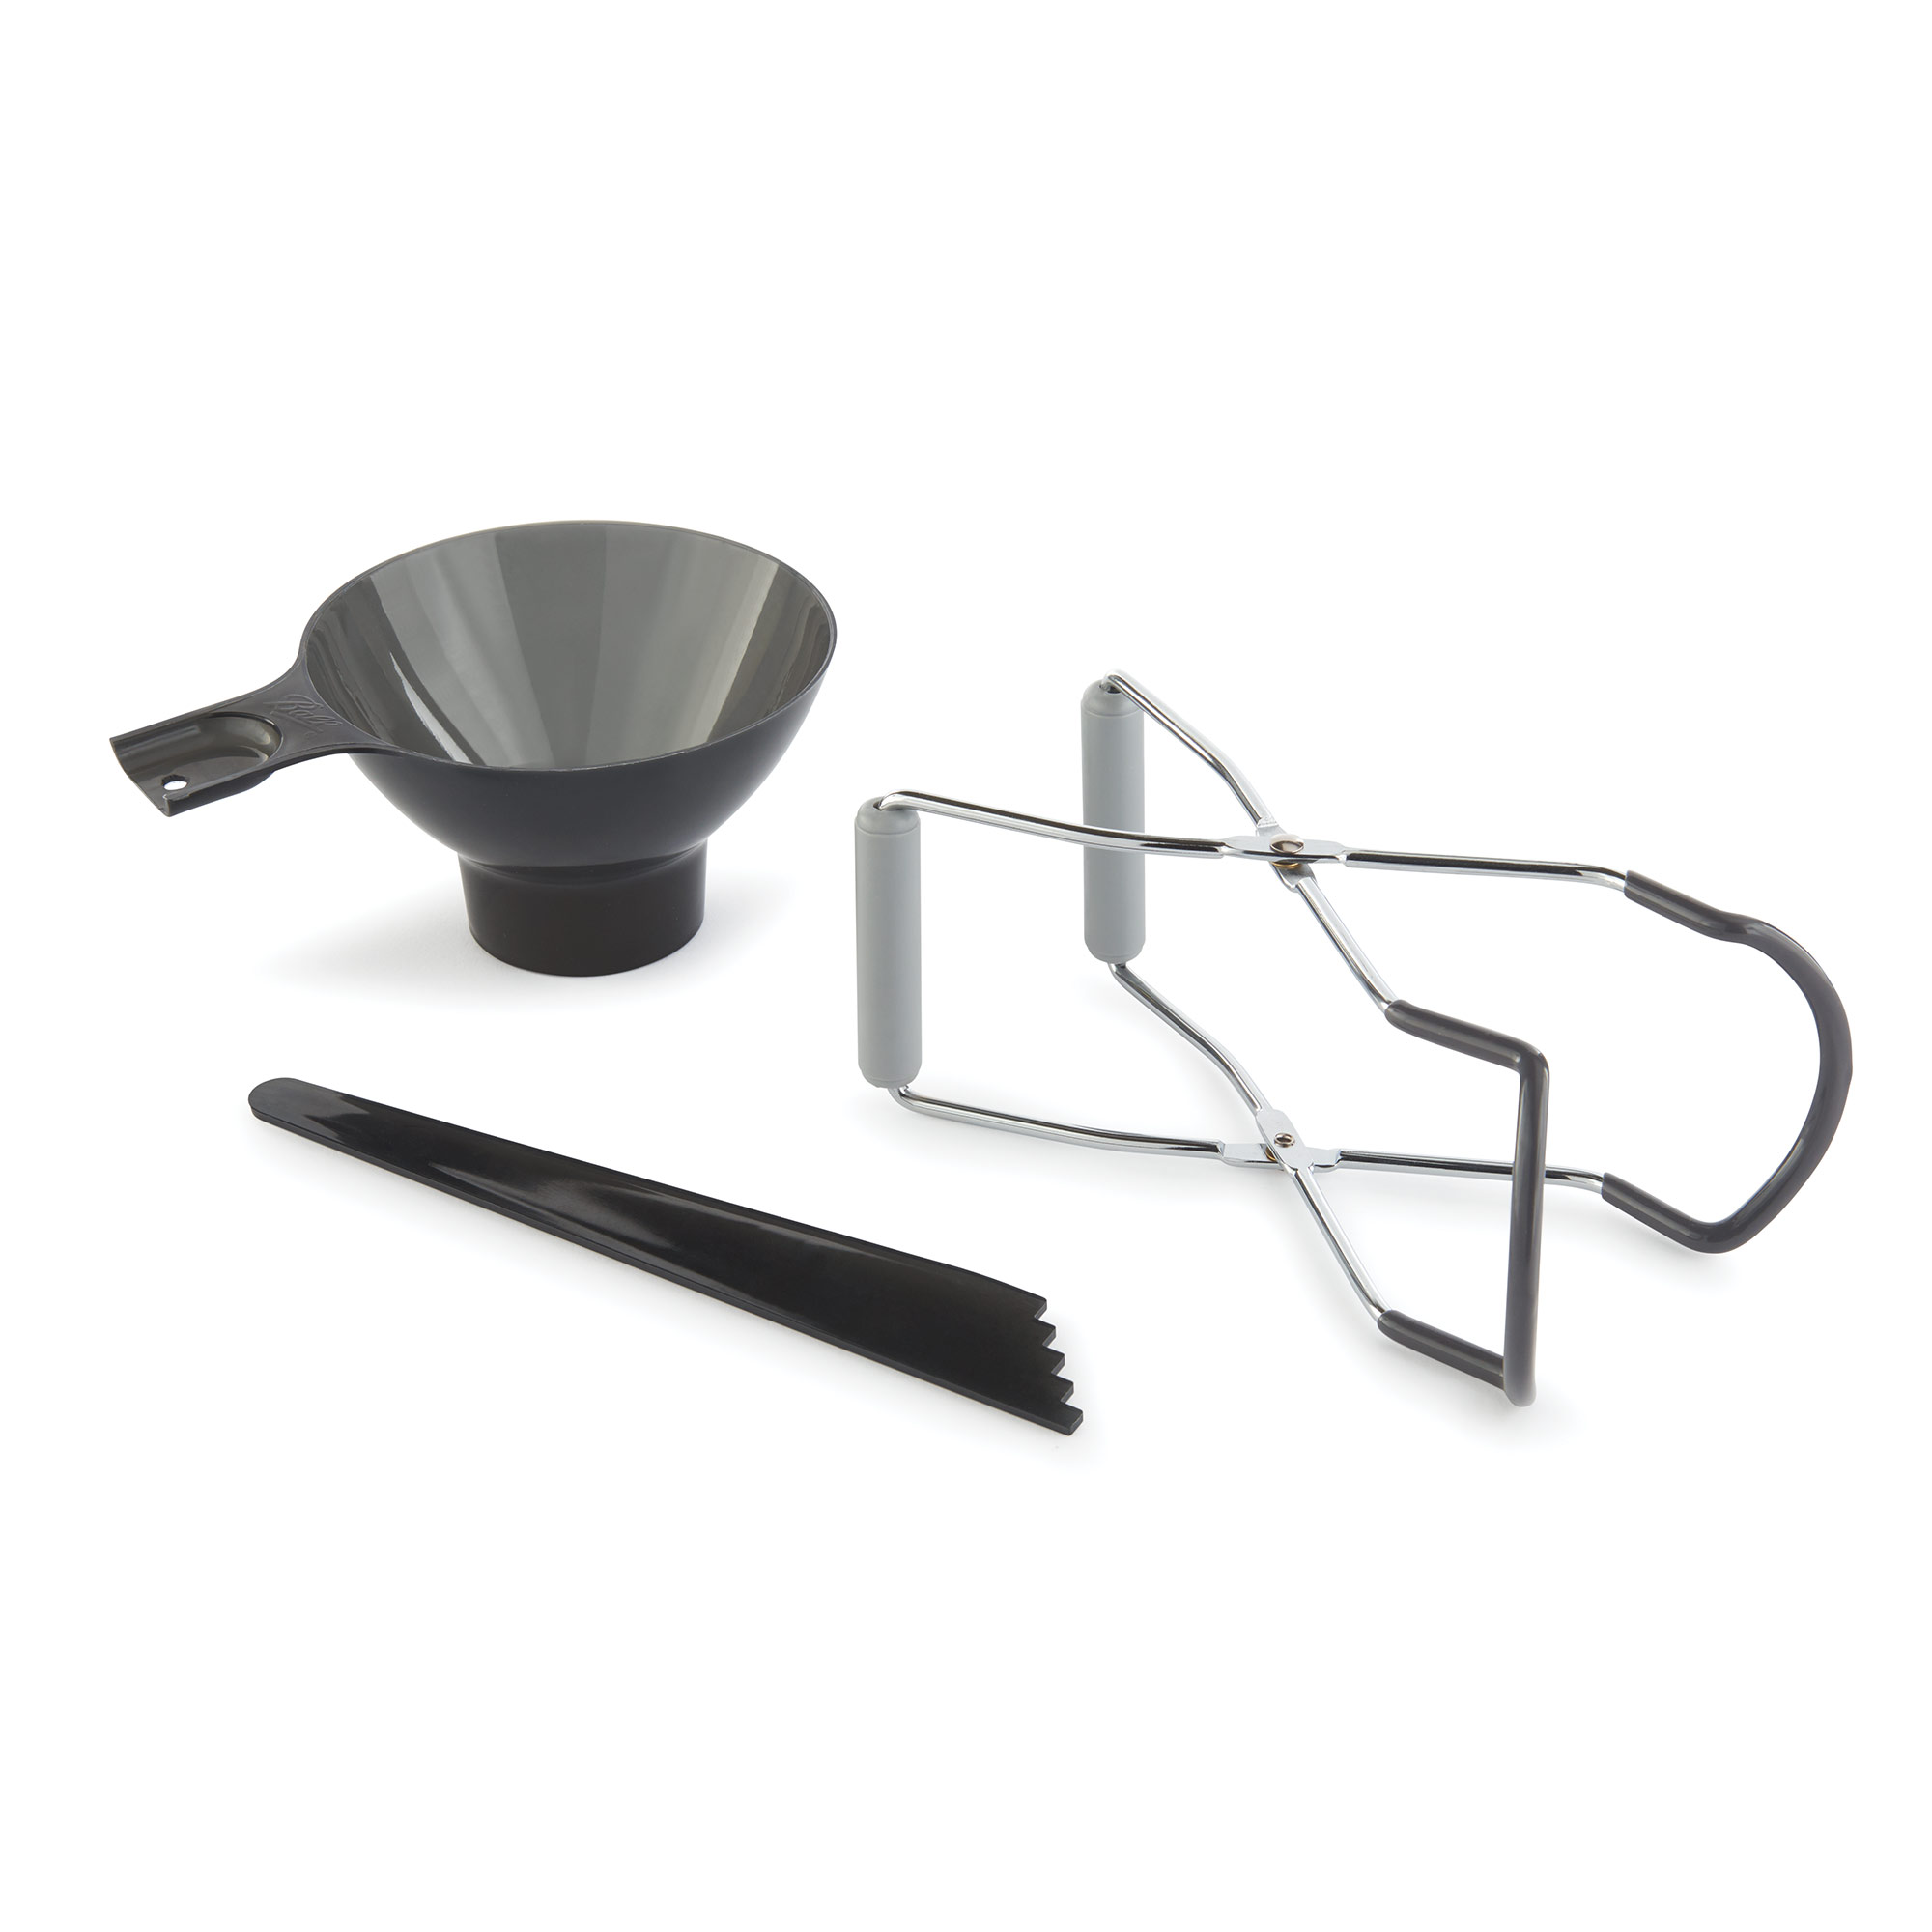
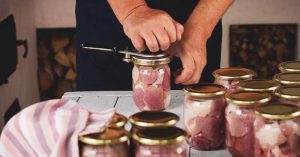
Next you will need some basic “jar” tools. For about $12 you can get a set of tools which include a jar lifter, a jar funnel, a magic wand to lift your hot lids, and a maybe a few other items. The jar lifter is the most critical. The water boils at 212 degrees and when the processing of the jars is completed you will need something to get the jars out of the pot. If you have tongs that have a rubber coating on the end they will work, but do not use metal directly on your jars. You could crack or scratch them and eventually they will break.
Other equipment needed will be a ladle and kitchen dish towels.
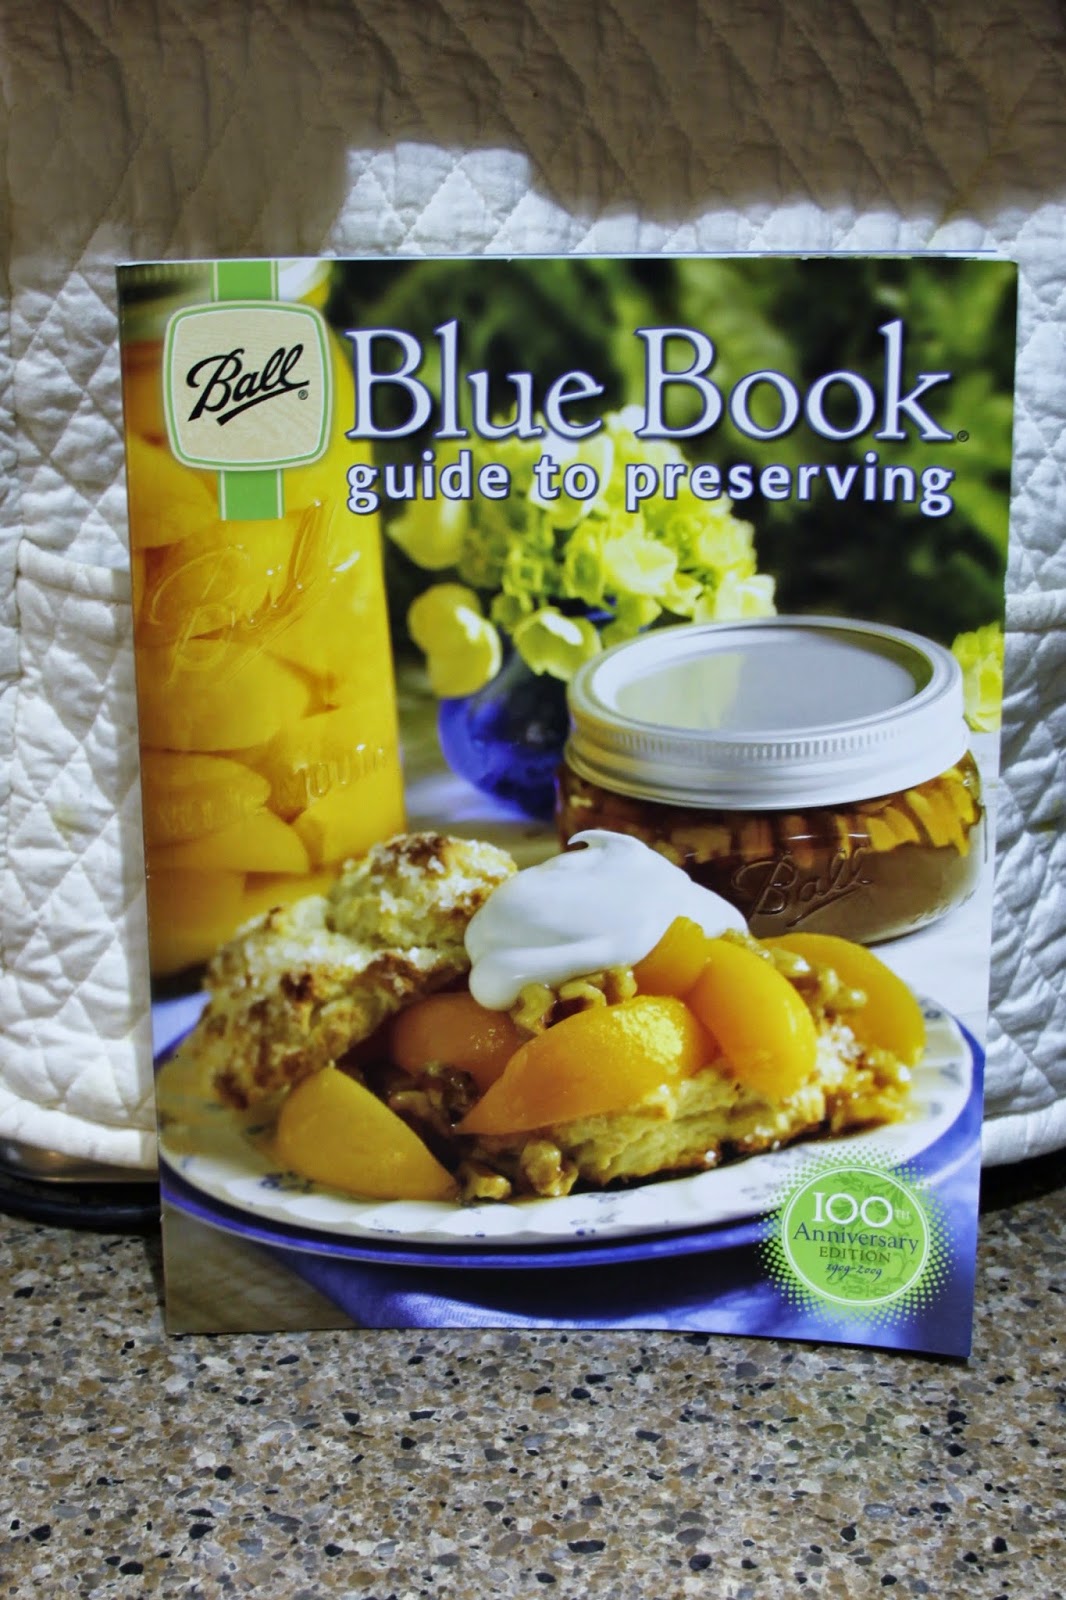
Lastly other than jars you will want to get a good canning book with safe recipes. The Ball Blue Book is the first one for many. (Available at the SB Canning Store)It is a great reference guy for the water bath processing and has lot of recipes. For additional books there are a list of recommended books at the bottom of my site. Many of the recipes on this site come from these books and are reference.
For those of you who don’t have gas stoves:
To make sure your jars process properly with an electric range, the canner should be no more than four inches wider in diameter than the element on which it is heated. For flat top stoves, canners should be no more than 2 inches wider than the diameter of the largest element.
Now you may ask “Why do I have to put my filled jars into a pot of boiling water in order for them to be shelf stable and last a year in my pantry. That’s not what my mom and grandma or anyone in my family used to do!” I get that a lot and while I appreciate their methods thirty years ago our food has changed from the soil we grow it and the seeds that we plant. We have to make sure that we process the food to kill any bacteria that may exist within the jars.
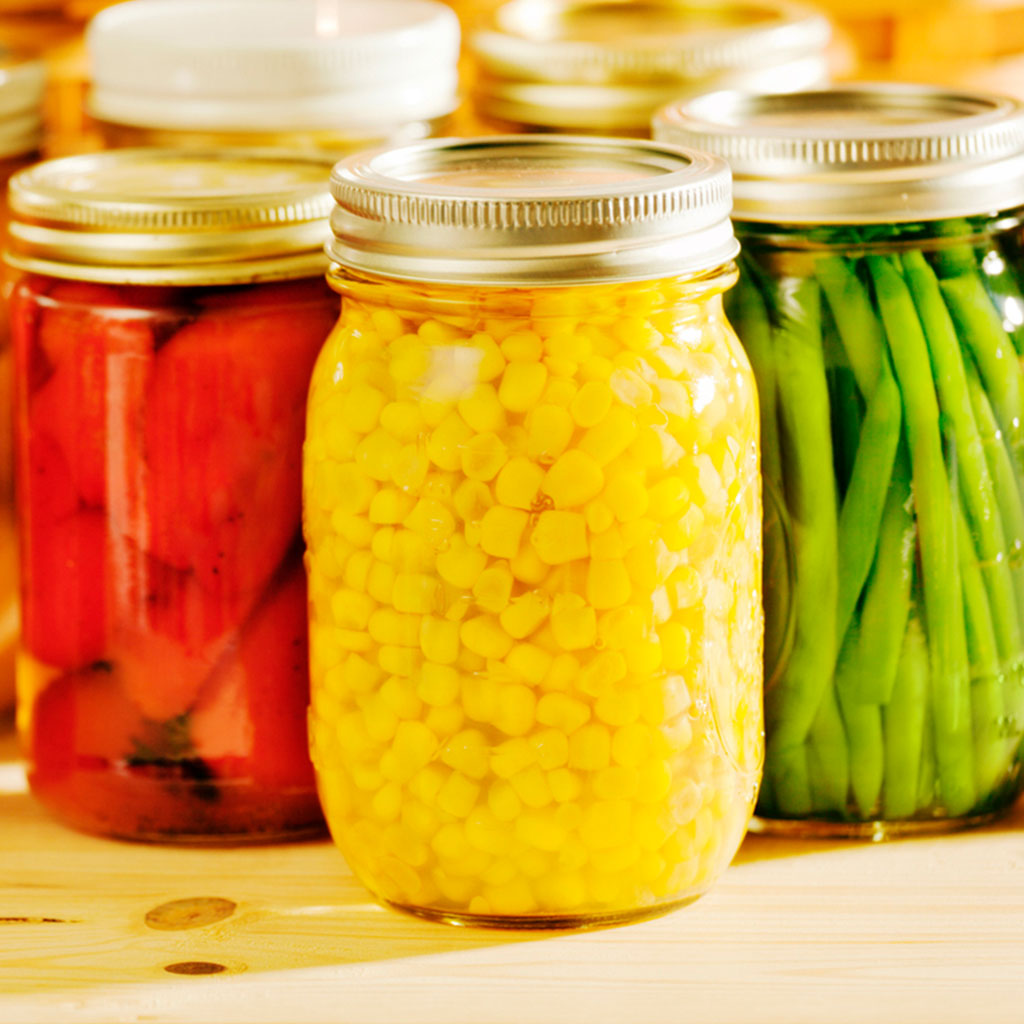
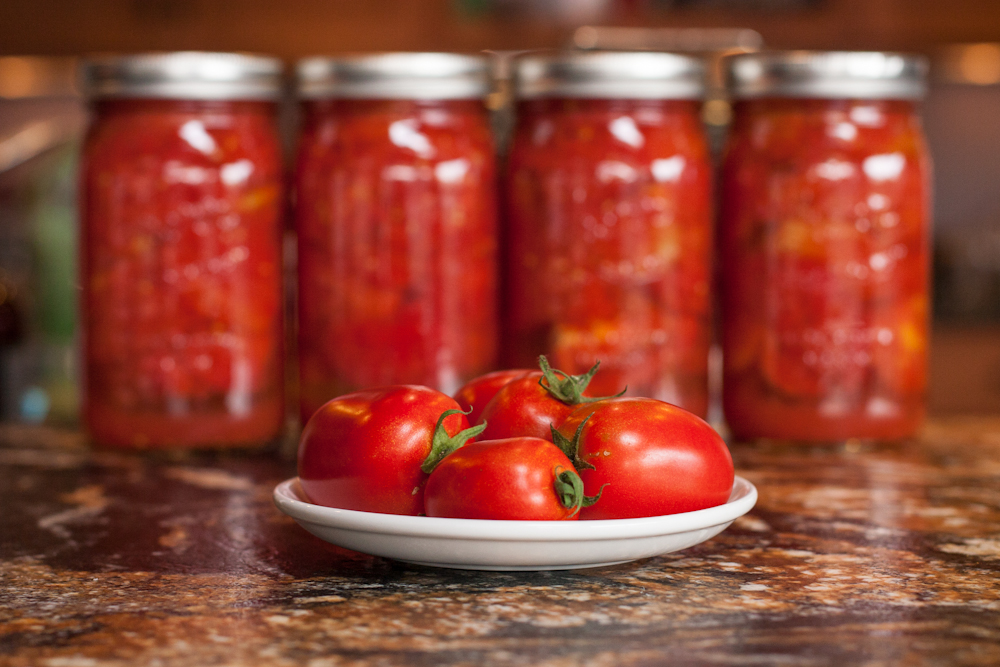
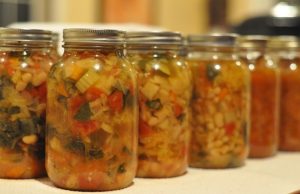
For water bath canning you will be processing high acid foods which are jars of jams, jellies, and marmalades, fruit butters and spreads, fruit pie fillings, sauerkraut, pickles and pickled vegetables, tomatoes and even mustard. The heat is transferred to the jars by the boiling water which completely surrounds the jar with a lid and ring. A temperature of 100° C (212° F) is reached and it must be maintained for the time shown in a safe recipe. If the timing is not shown it probably isn’t a safe recipe and was possibly adapted. Always follow a “modern” recipe with proven and tested processing times. If you have old canning book use them for inspiration and find a new version of the recipe that is safe.
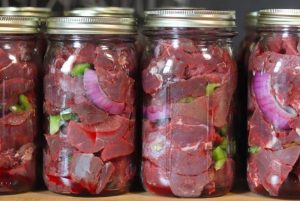
 Scientifically Water bath canning is adequate to kill molds, yeasts, enzymes and some bacteria. This method never reaches the temperatures needed to kill certain bacterial spores and their toxins (240 degrees), which can produce botulism, therefore, this method cannot be used for processing low-acid foods such as meat, soups, stews, and veggies without a vinegar brine.
For tomatoes because the hybrid varieties of tomatoes are on the borderline between being acid and low-acid, tomatoes and tomato products are no longer considered safe for water bath canning methods without additional acidification of either vinegar or bottle lemon juice.
Now that you know the basic of what you need you can start with a basic recipe. For the steps to water bath canning see the link to Water Bath Canning Basics


Leave a Reply