I keep seeing questions and FB comments about theword “siphoning” and I’m not sure that is the word that I would use.They describe siphoning as; a jar that has a much larger headspace thatoriginally canned or the liquid appears in the water of the canner with residueon the lid, ring, and/or jar.
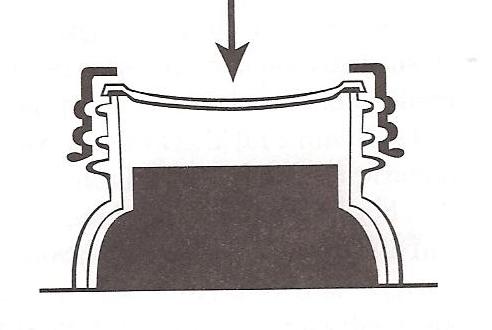
To better explain this phenomenon you have torealize what is happening in the canner. The process inside the canner isheating the recipe to the internal temperature of the canner (waterbath 212degrees; pressure canner 240-250 degrees) and as a result the food will boiland expand. Air will escape around the two piece lid. The process does twothings; 1) kills any microorganism that are in the jars contents 2) removeoxygen and help form a high vacuum in the jars. Good vacuums form tight sealswhich keep liquid in and air and microorganisms out.
The video below is my recent batch of beans justtaken out of the canner demonstrating the contents are still boiling when theyare removed from the canner.
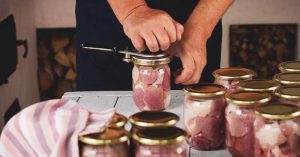
Troubleshooting the result of “loss ofliquid” or “excessive headspace” can be done during the processof filling the jars. Here are a few things to be mindful of;
1) If you didn’t measure the correct headspacethe food will “boil over” in the canner. It will escape out the topof the jar and the end product will be short in the jar of either liquid orproduct.
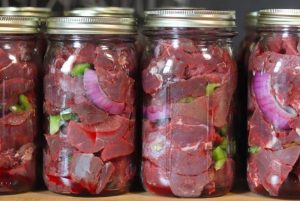
2) If you did not remove the air bubbles before putting on thelid the results from the boiling canner will create action in the jar. The foodwill take up the air space not previously removed making your jars look like aboil over when in fact it didn’t have enough liquid to start with.
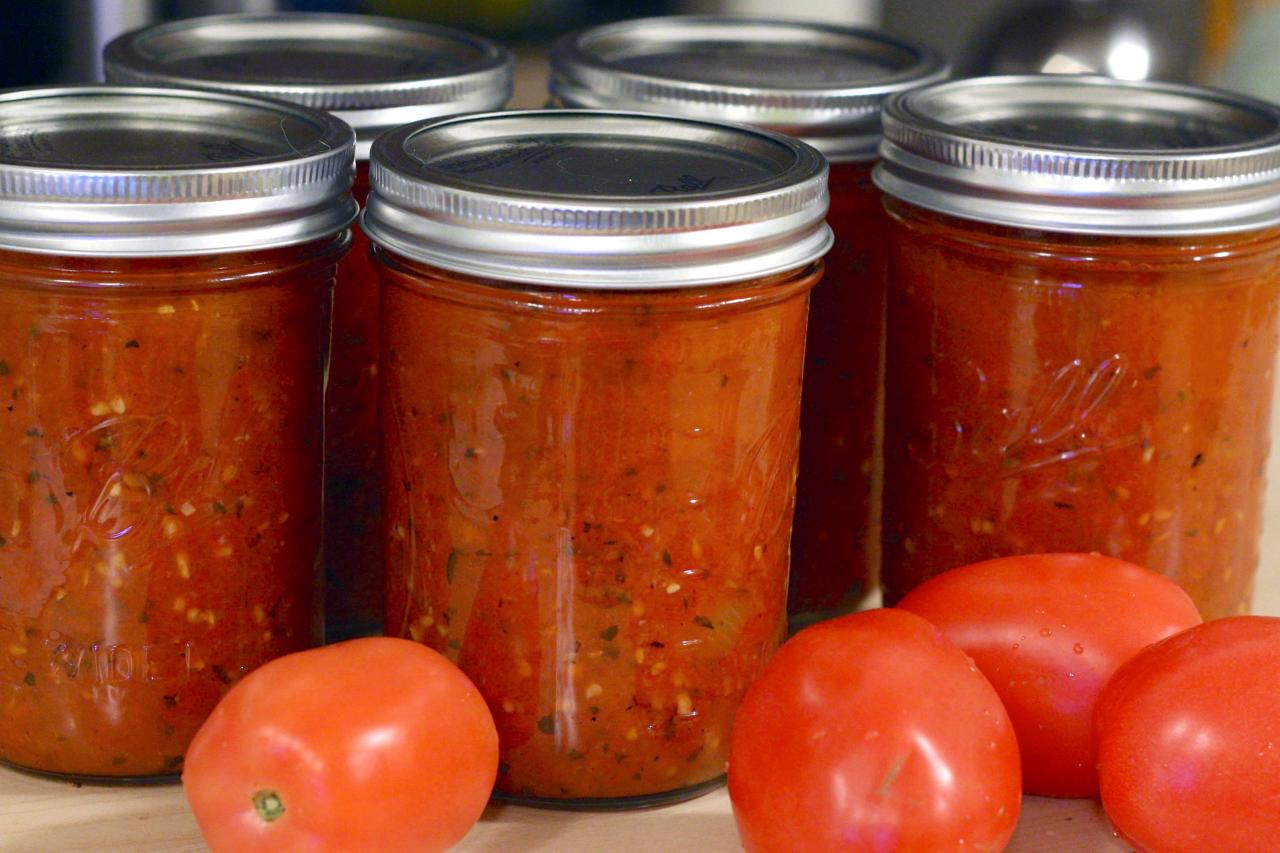
There are many that fear that the “boilover” or the “excessive headspace” will be reason to put thosejars in the refrigerator and that they are not shelf stable. The key is howthe jars sealed.
From the picture to the right as the jars cool thechange in temperature causes the lid to pull down sealing the jar.
If you have excessive headspace and the jar doesn’tseal the processing time may not have been sufficient to drive out the air.This jar must also find a home in the frig. But if the jars seal in either ofthese conditions they are shelf stable.
The last and most important procedure, to ensurethat you will have an indication of a bad jar in the future, is to store allthe jars without the rings on them. I know for many that is contradictory towhat you know but there is a good reason to do so. I will use the examples fromthe jar to the left as my prime candidate.
Without a ring, the jar with excessive headspace,though it has properly sealed, may start to have growth of bacteria. Thebacteria will cause; 1)pressure under the lid causing the lid to slideoff or 2) the center of the lid will bulge or 3)when removing thelid to use the contents of the jar the lid will have no resistance to yourfingers pulling it off. If you leave the ring on and if bacteria formsthe ring will stop the lid from moving. Though the lid may not bulge, giventime, it could reseal itself trapping the microorganism that may lead to e.coliand botulism.
Filling and doing the steps to process a perfectjar requires practice. You will continue to have some that don’t come out quiteright here and there, but don’t give up. Some foods can be tricky because oftheir natural expansion such as dried beans and lentils.
Good canning recipes specify the headspace, but ageneral rule is use 1 inch for low acid foods (such as vegetables), 1/2 inchfor fruits and pickling, and 1/4 inch for jams and jellies.
Additional reasons during thePressure Canning process:
Here are some of the troubleshooting tips that Ican give you about the loss of liquid in your jars while pressure canning:
1. Make sure that if you are doingbeans or other foods that will absorb liquid that you account for expansion.You will want to fill your jars 1/2 to 3/4 of the way full with your recipe andcomplete up to the headspace with your hot liquid. The recipe will tell you howto fill. If not ask me!
2. Make sure to be good about theheadspace. 1″ means the space between the top of the jar to the startof the level of the food! 3. When putting on the rings make sure they areonly finger tight. Cranking the rings on may cause undue pressure on thelids making it harder to release the air from the jar.
4. Make sure to start simmeringthe water in the bottom of the canner before loading the jars. This will helponce the lid is on bring up the temperature in the canner. 5. Once the lid ison the canner, make sure to vent the canner for the full 10 minutes. Thecanner internal temperature is important in creating enough steam and heat andwill also help in the liquid not boiling over.
6. Be diligent during processing tokeep a “fairly” steady temperature under the canner to notprocess for long periods of time at excessive amount of pressure. That willcause overboiling in the jars for the additional pressure over time.
7. When you are done with processingmake sure that you do not move the canner because shifting the cannermay cause the liquid which is now up to the lid to spill out. Let the cannercool naturally. Do not force the issue by knocking or pushing the weightoff of the vent to release the steam faster.
8. Don’t let the jars sit in thecanner beyond the time it takes the canner to cook. The internaltemperature will take a while to cool which will allow your recipe to continueto cook and possible boil over. Take your lid off once the pressure gaugereturns to zero or your lid lock goes down. 9. Once you have removed the lidlet the jars sit in the canner for 10 minutes. This will allow the jaradditional time to depressurize. I have seen jars siphon after the lid is offwhen taking them out right away so wait the 10 minutes before taking them out. Iknow that it’s a lot of things to remember but practice makes great jars andthe loss of liquid can be avoided in most cases!


Leave a Reply