Don’t Worry – it’s not complicated!
Canning Basics 101
There are two types of processing methods recommended by the USDA: water bath and pressure canning.
So which type of canning method should you use? Well, it all depends on the acid level (pH value) of the food.
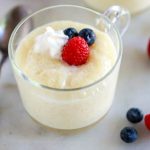
Water Bath
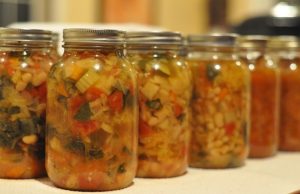
Higher acidic foods, like fruit and berries, are processed using a water bath canning technique. Pickling also uses the water bath canning technique because vinegar and lemon juice are acidic (a very high pH value).
Water bath canning processes high acid foods by bringing the food to the boiling point (212 degrees) and then boiling (processing) the food for a specific amount of time. Boiling destroys the yeasts, molds, and bacteria that may exist on these types of foods. Canning basics tip: using this method is less expensive because water bath canners are essentially large cooking pots.
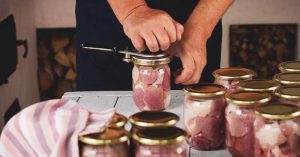
Pressure Canning
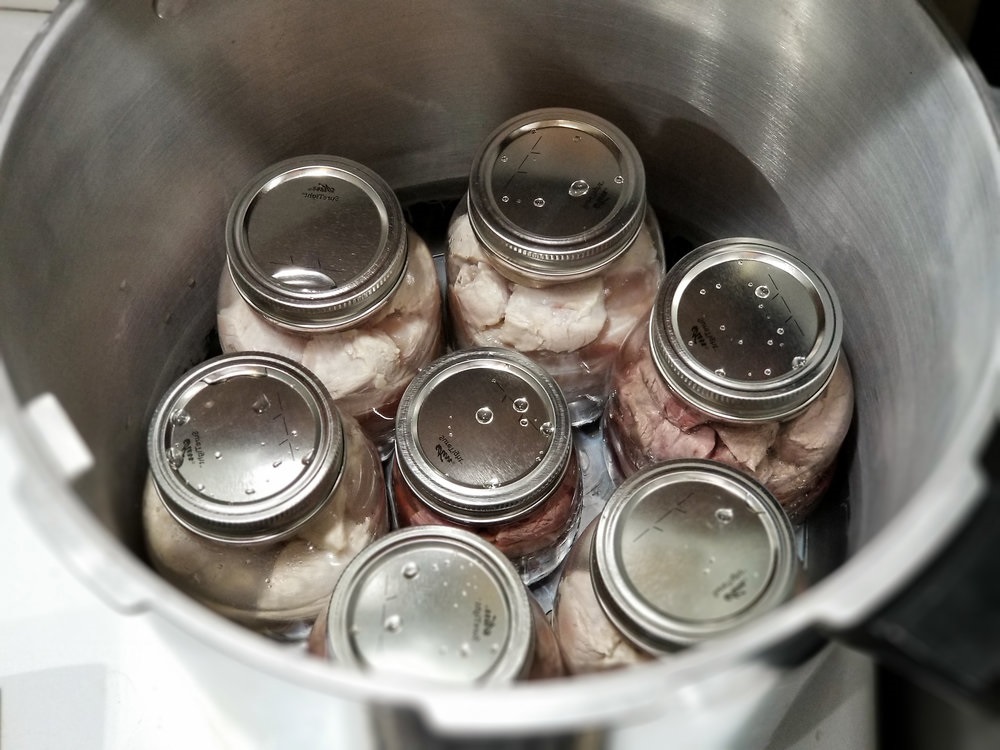
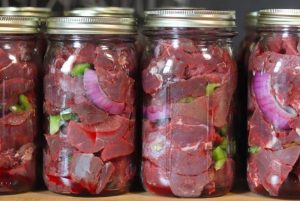
Those foods with a lower pH value, such as meats, seafood, vegetables, and beans must be processed using a pressure canner
Low acid foods require a higher temperature (generally 240 degrees) to destroy toxins. The higher temperature can only be achieved by using a pressure canner. Improperly processed low acid foods can contain the dangerous toxin that causes botulism. So, it becomes very important to follow the recipes exactly and never minimize the amount of processing time.
You may have heard of other ways to process foods. My grandmother used to fill hot jams into hot jars, and then put on the lid and invert the jar. Don’t do this! Over the last few years, we have learned a lot about food safety and we know that just because it worked for Grandma, it’s not necessarily the safest way to go. The USDA has done extensive research on home preservation and has provided information and recipes to help us be both safe and successful.
So, how do you know what the acid level of foods are? The National Center for Home Food Preservation is a great resource for more indepth basic canning information.
Canning Basics: For a successful canning experience, use these guidelines
Use recipes that have been well researched, well tested, and are up to date. Follow them exactly. We’ve learned a whole lot about food safety and canning over the last few years and well tested recipes will help you to create a good product.
Make sure that your equipment is in good working order, the gauge on the pressure canner is accurate, and that everything that you need has been set out.
Confirm that your tools and work area are clean. Run your spoons, jars, and tools, through the dishwasher and thoroughly wipe down countertops.
Use jars that are made for home canning (“mason-type” jars) and check that they are free from nicks, chips, and scratches.
Use only the best quality food. Produce that is over ripe, damaged, bruised, diseased, or moldy or meat that is old or has been improperly stored is more likely to spoil in canning than good quality food.
But most of all, take your time and don’t rush this experience. Put on some good music and enjoy yourself. Your finished product will be worth it!
Check back often. As new information is sent out by the USDA, I will update this page to keep you informed!


One Comment
Cindy Bane
Posted on: July 30, 2020HI,
Is there an easy way to print a listing of all the canning recipes you have on the website? I LOVE your site and I am a new to canning at 65yrs old. Our internet is spotty so when I think of an idea – it would be just great if I knew to wait for the internet to come back up to check your site for the recipe or start going through the many other new canners for a possible recipe.
Thank you so much!