Before you can start to “put food by”, you will need some canning supplies. Some, you most likely already have in your home, but there are a few things that are specific to canning.
I’ve listed some “must haves” – the equipment you’ll definately need and some “nice to haves” – items that will make canning easier, but are not vital.
If you are just starting out, you might consider purchasing a canning kit which contains all the tools you’ll need in one package.
The Essential Canning Supplies
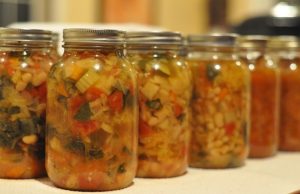
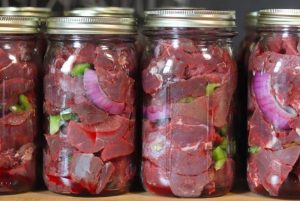
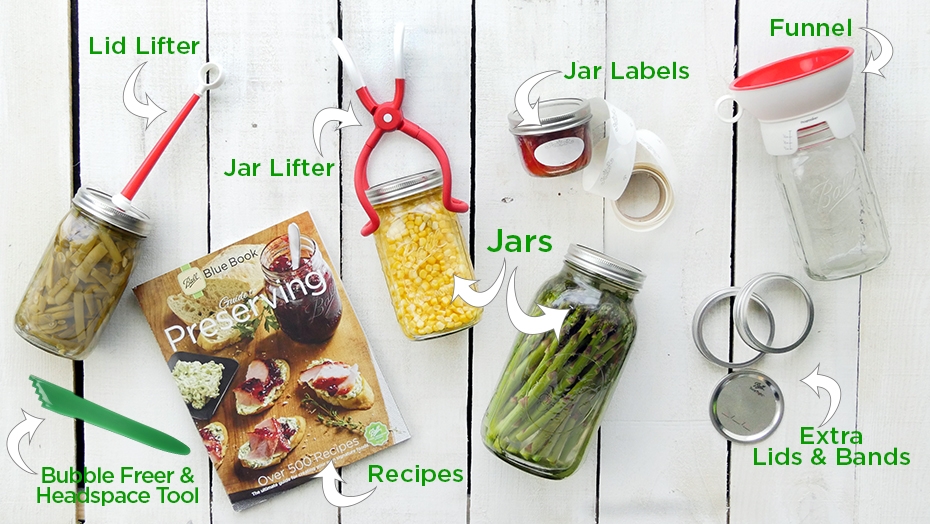
- Jars, lids, screw bands – The size of the jars depend on whatever it is you are canning – check your recipe for suggested sizes.
- A big pot! What are you planning to preserve? If your focus is fruit and pickles, then you will need a pot big enough to hold a rack and jars. Water bath canners are perfect for this. If you also want to preserve vegetables and meat, you will need to invest in a pressure canner. (Veggies and meats need to be processed at a temperature higher than the boiling point in order to kill bacteria.) If you plan to preserve fruit as well as vegetables, consider just buying a pressure canner as it can also be used simply as a big pot.
- Canning rack – This is needed to keep the jars upright and keep them from bumping into each other during processing. If you purchase a canner, the rack usually comes with it. If you are using your own pot, check out the canning rack link for some alternative ideas.
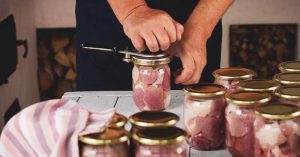
- Jar lifter – This is an invaluable tool and is used to place the full jars into the water bath canner/pressure canner and take them out.
- A bubble freer – this is used to poke into the jars after you’ve filled them with fruit or vegetables. We want to remove any bubbles hiding in there! Whatever you decide to use, it should be plastic or wood, like a chopstick, plastic knife or a spatula – so that jars don’t accidentally get scratched. A wooden chopstick is my favorite.
Canning Supplies can be found in most grocery stores, hardware stores, and “big box” stores. Sometimes, you can get good deals on used canning supplies at thrift stores. If you opt to go this route, please check the equipment carefully to ensure it is in good working order!
Canning Supplies that are “Nice to Haves”
- Jelly bag – If you are making jelly directly from fruit, you will need to strain it for beautiful, clear juice. A jelly bag setup has a frame to hold the straining bag over a bowl – very nice. However, plain old cheesecloth works well, too.
- Magnetic lid lifter – This is an ingenious “nice to have” little tool that easily lifts the hot lids out of the pot of hot water. I’ve had a couple of these. One worked really well and the other…not so much. I think it depends on how strong the magnet is. Kitchen tongs work fine, too
- Jar labels – You can usually buy these where canning supplies are sold. Simple sticky labels from the office supply store works, too. I prefer just to write directly on the jar lid with a sharpie.
- Jar Opener – Sometimes the screw band gets stuck on jam and jelly jars (or other food that is sticky). This tool grips around the ring and helps to get it “unstuck”. Another trick is to simply wrap a rubber band around the screw band to act as a “grip”.
- Canning funnel – used to help pour the hot liquid into the jars. These funnels are great to help keep the mess factor down and are made to fit the neck of the canning jar. I have attempted to ladle hot liquids directly into jars but the drips and slips make for lots of slop.
Other Useful Stuff
The following list of things are not used for everything that you will can. But I find them pretty useful to have on hand and some of them I store with all of my canning supplies.
- A small pot used to heat the lids (a small soup pot will do just fine)
- A teakettle or other smaller pot full of hot water (when using the water bath canning technique). After we’ve placed the filled jars into the canner, it is important that there is enough hot water to cover the jars. Just in case we’re short, we can use this water to “top off” the big pot.
- Several big spoons for stirring
- Measuring cups and spoons for accurate measurements
- Apple peeler and slicing tools to help prepare the food
- Potato masher to squash fruit for jams, conserves, and marmalades
- Food processor – certainly not a necessity, but depending on the food that you are canning, it could help speed up the food preparation!
- Strainer/Colander to aid in washing and draining the produce. Stainless steel is preferred over plastic so that the strainer/colander can sit on top of the cookpot.
- A large cooking pot to blanch produce or cook the jams. When cooking fruit for jams, the pot should be large enough to accommodate the fruit mixture with plenty of room to spare. Jams must be boiled and sometimes the mixture rises when boiling. Sticky jam mixture is icky to clean up if the pot boils over.
- Clean cloths /paper towels – for wiping the rims of the jars and to sop up spills
- Wire rack used cool the hot jars. Note: you don’t want to set the hot jars on your cold granite countertop – thermal shock could occur and your jars or even your countertop could crack.
- Hot pads to pick up or move the hot jars and hot pots.
- Ladle – scoop the hot liquid into the funnel or jars.
- Foley Mill or Sieve – to remove berry seeds.
- A timer – to accurately gauge processing time.
I will be reviewing different tools in the near future. Check back for updates!
Once you’ve put together your canning supplies and equipment, keep them stored in a way that they remain in good working order. Check out this article by the National Center for Home Food Preservation for some good tips.