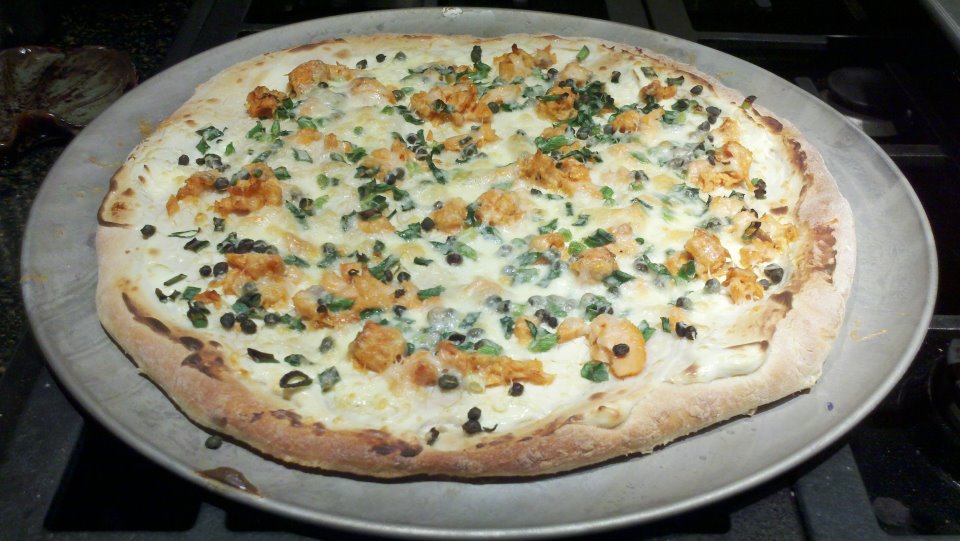
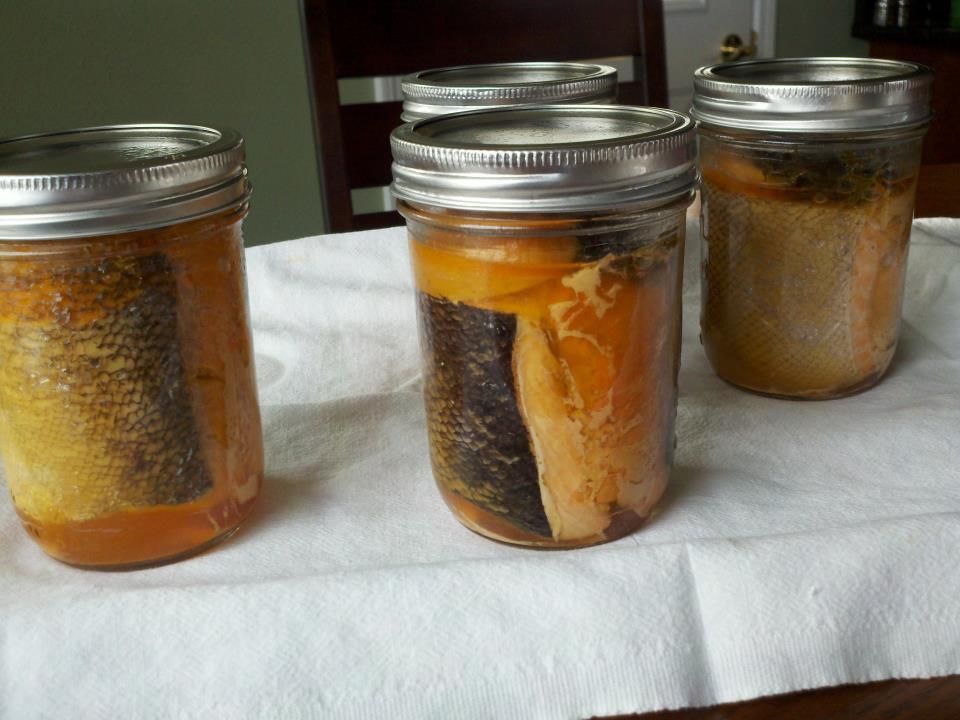
Some of you may have taken the time and the patience to “put up” fish. Fish is the longest processing time in a pressure canner though it is worth the wait to complete a jar of salmon. Miranda a new friend from FB took on the challenge of canning Salmon yesterday. I was in awe and was immediately ready to write about her experience. I was then even more surprised with her Salmon Pizza from one of her jars that did not seal. Yum!
There are two different processes in a pressure canner depending on the type of fish, a class of fatty fish and a separate process for tuna. Here are the fish that are listed to be canned though there may be others that are in your local area. All these fishes need to be canned raw;
Fatty fishes: Blue, mackerel, salmon, steelhead, trout, and other fatty fish
These fish can be canned in half pints, pints, and quarts, but there is a controversy between the two Ball Books; Ball Blue Book and Ball Complete Book of Home Preserving, and the USDA Complete Guide to Home Canning, with respect to fish canning.
Ball has this instruction:
Prepare fish for home canning as you would for cooking. Leave the backbone in small fish and debone larger fish. Soak fish in a slat water brine before canning. Because seafood and fish are very low in acidity, you must can them in 8 ounce or pint jars. Heat penetration of larger jars may be inadequate to destroy bacterial spores.
The Guide to Home Canning instructions doesn’t talk about a “salt water brine” but state:
 Caution: Bleed and eviscerate fish immediately after catching, never more than 2 hours
after they are caught. Keep cleaned fish on ice until ready to can.
Note: Glass-like crystals of struvite, or magnesium ammonium phosphate, sometime form in canned salmon. There is no way for the home canner to prevent these crystals from forming, but they usually dissolve when heated and are safe to eat.
Procedure: If the fish is frozen, thaw it in the refrigerator before canning. Rinse the fish in
cold water. You can add vinegar to the water (2 tablespoons per quart) to help remove slime. Remove head, tail, fins, and scales; it is not necessary to remove the skin. You can leave the bones in most fish because the bones become very soft and are a good source of calcium. For halibut, remove the head, tail, fins, skin, and the bones. Wash and remove all blood. Refrigerate all fish until you are ready to pack in jars.
The Guide to Home Canning also has instructions how to can all of the fatty fishes above in both pint and quart size jars.
I wanted to post these two different processes since both come from a safe and trusted resources. My feeling is that both can be used. It will be your own personal choice. Miranda used the the recipe from the Ball Blue Book which is printed below. If you would like to see the entire recipe from the Guide to Home Canning please let me know and I will post those directions as well.
Here is the process for salmon and some notes from Miranda about her experience. Enjoy!
Miranda:
So after canning meatballs last weekend, last night I jumped right into fish! Fresh Salmon. 3 1/2 lbs became 5 pints. One did not seal after 12 hours, so I got to try it! It was VERY easy, just a long 100 minutes under pressure. … I used a fresh side of salmon, skin on, I did remove the scales, rinsed and patted it dry. Using a wide mouth pint jar to measure the length, then cut the salmon to appropriate sized pieces. I then placed the salmon, skin side out into the jar being sure that I had a 1 inch headspace. I chose to season with a half slice of lemon and a sprig of fresh dill. Wiped the rims of the jar with a cloth damped with white vinegar, applied the lids, and then put the jars into the pressure canner, processed according too the instructions in the book. I chose not to add the salt as I prefer to do that when I prepare the recipes.Also, parents are on a restricted sodium diet, and they love canned salmon.
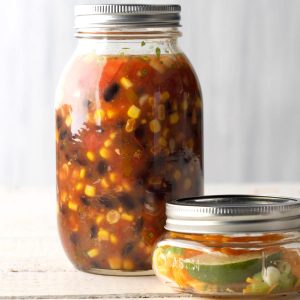
Canning Salmon
Clean fish within two hours after its’ caught. Keep clean fish chilled until ready to can. Dissolve one cup salt and one gallon of water to make brine. Cut fish into jar length pieces. Soak fish in brine for one hour. Drain for 10 minutes. Only process in half pints or pints. Pack fish into sterilized jars. Skin side next to glass. Leave one inch headspace. Adjust two piece caps. Process half pints and pints 1 hour and 40 minutes at 10 lbs pressure in a pressure canner.
This is the entire recipe from the book but I want you to make note of the additional steps that Miranda did. Make sure to wipe the rims of the jars with white vinegar. That will help remove any fat or fish that may be left behind on the rim. Also if you are using a dial gauge pressure canner you will process at 11lbs of pressure for the same amount of time, 100 minutes. Do not forget to adjust the pounds of pressure depending on your altitude.