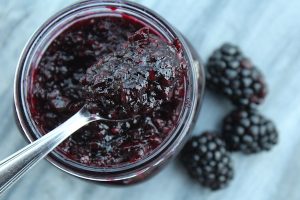
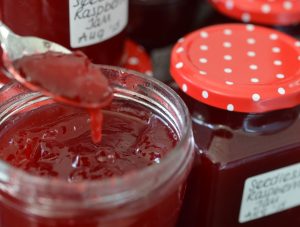
So I took the time the other day to take a look at my “sweet” inventory in my canning pantry. I found that the few jars that I had from early spring were mostly strawberry but I was completely out of peach, apricot, and plum. I had some apricots in the freezer, but thumbing through my canning cookbooks I found quite a few recipes that gave you the option to use dried fruit. One of the recipes that looked interesting was Apricot Honey Butter.
For this butter it uses a combination of flavors with the apricots, lemon, crystallized ginger and honey. Since the fruit in this recipe is dried it would be a great base to change up those flavors such as dried plums, or dried mangos. This recipe was about being patient and waiting for the apricots to cook down so that they could be blended smooth.
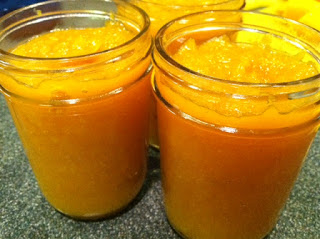
Apricot Honey Butter
Ingredients
- 2 cups dried apricots, roughly chopped and measured after chopping (~2 lbs)
- 2 tablespoons lemon zest
- 2 cups water
- 1/2 cup bottled lemon juice
- 1/4 cup crystallized ginger roughly chopped
- 2/3 cups sage honey
Instructions
Preparation:
- Prepare 3 half pint jars, lids, and rings. Sterilize the jars and keep them in the hot water till its time for processing.
- Combine the dried apricots, lemon zest, crystallized ginger, water, and lemon juice in a dutch oven. Bring to a boil over high heat, cover and reduce heat. Simmer, stirring occasionally, for 30 to 35 minutes until the apricots are tender.
- Transfer the apricot mixture to a food processor and process until smooth. Return the mixture to the dutch oven, add the honey, and bring to a simmer over medium heat.
Filling the jars:
- On a dishtowel place your hot jars in a semi circle leaving room for your pot that has your butter recipe.
- Using your funnel in each jar ladle the mixture into the jars leaving 1/4” headspace. Remove air bubbles and refill to the proper headspace if necessary.
- Taking a clean papertowel wet it with warm water and wipe the rims of the jars removing any food particles that would interfere with a good seal.
- Using your magic wand to extract the lids from the hot water and place them on the now cleaned rims. Add your rings to the tops of each of the jars and turn to seal just "finger tight".
Processing:
- Make sure your rack is on the bottom of the canner and place the jars in the water bath making sure that the water covers each of the jars by 1 to 2 inches. Add hot water to the canner if it doesn't measure up.
- Cover the pot and turn up the heat under the canner and wait for the water to start boiling. Once the water has come to a boil start your timer for 10 minutes.
- When complete turn off the heat and remove the cover and let the jars sit for another few minutes.
- Remove the jars and place them back on the dishtowel in a place that they will sit overnight to cool. Do not touch or move them till the next morning.
Sealing:
- Some time in the next hour your jars will be making a "pinging" or "popping" noise. That is the glass cooling and the reaction of the lids being sucked into the jar for proper sealing. Some recipes may take overnight to seal. Check your lids and reprocess any jars that did not seal.


One Comment
Chuck B
Posted on: February 12, 2020You mentioned “several” recipes that call for dried fruit. I would like to make pie fillings or jam from some of the MANY dried fruits I have. Any suggestions? I will try this recipe with dried plums.