This post has taken some time not because I haven’t been writing it but that I wanted to give you a little something more than most of the “Weck” posts that you find on the web. Weck jars are the Cadillac of canning jars. They are designed so that the lids are reuseable, the shapes and curves are original and unique, and the processing has a few adjustments but very similar to using a standard Ball/Kerr canning jar.
When you decide you want to give these jars a try be aware of the increase in price, some as much as $5 per jar. But if you keep watching or check out the Weck website (www.weckjars.com) you can purchase these jars for the specialty projects and not spend a fortune.
Weck jars have a three piece lid…
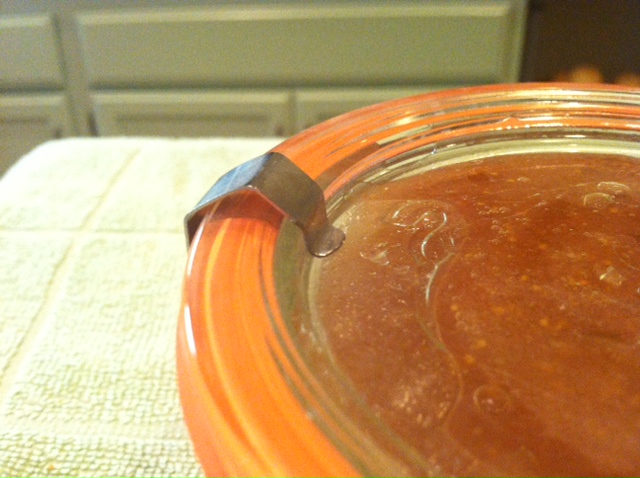
1st there is a glass lid, yes I said glass. No more metal or plastic lids. You will heat these glass lids in the water bath canner just like the jars for 10 minutes at a boil for sterilization.
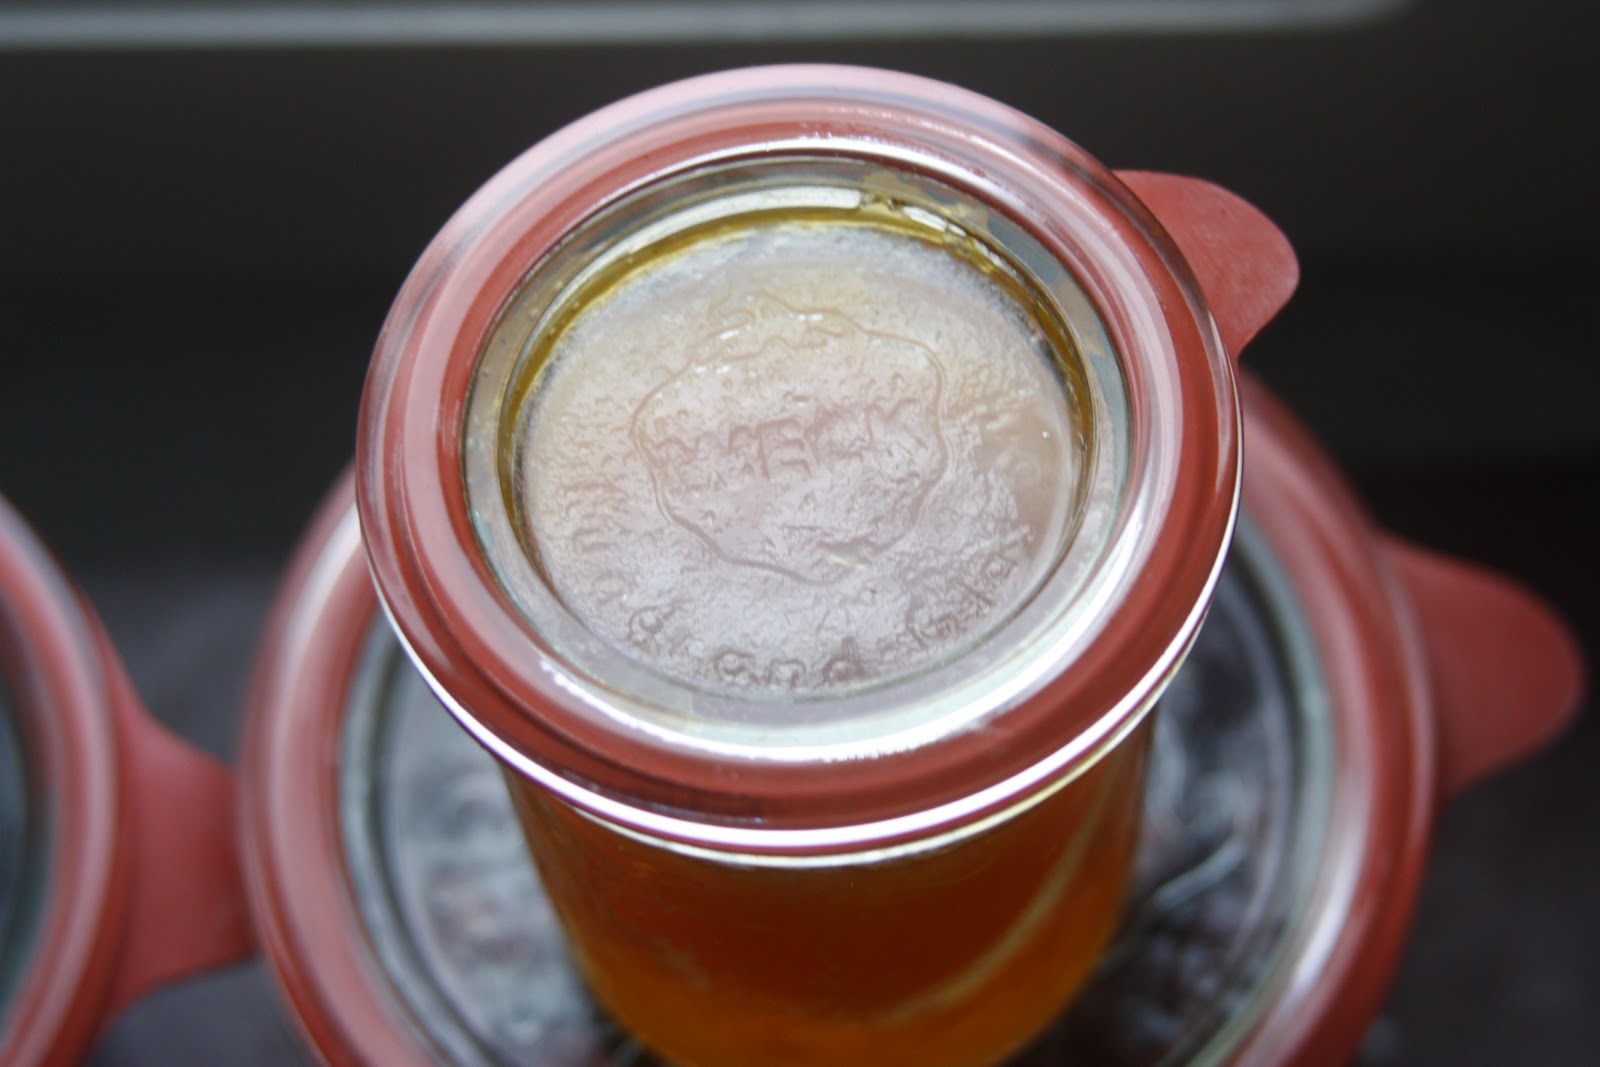
2nd there is a rubber ring. This rubber ring also will be heated just like the ball lids in previously boiling water for 10 minutes. On the rubber ring is a tab. You know that the jars have sealed after processing when the rubber tab is pointing down.
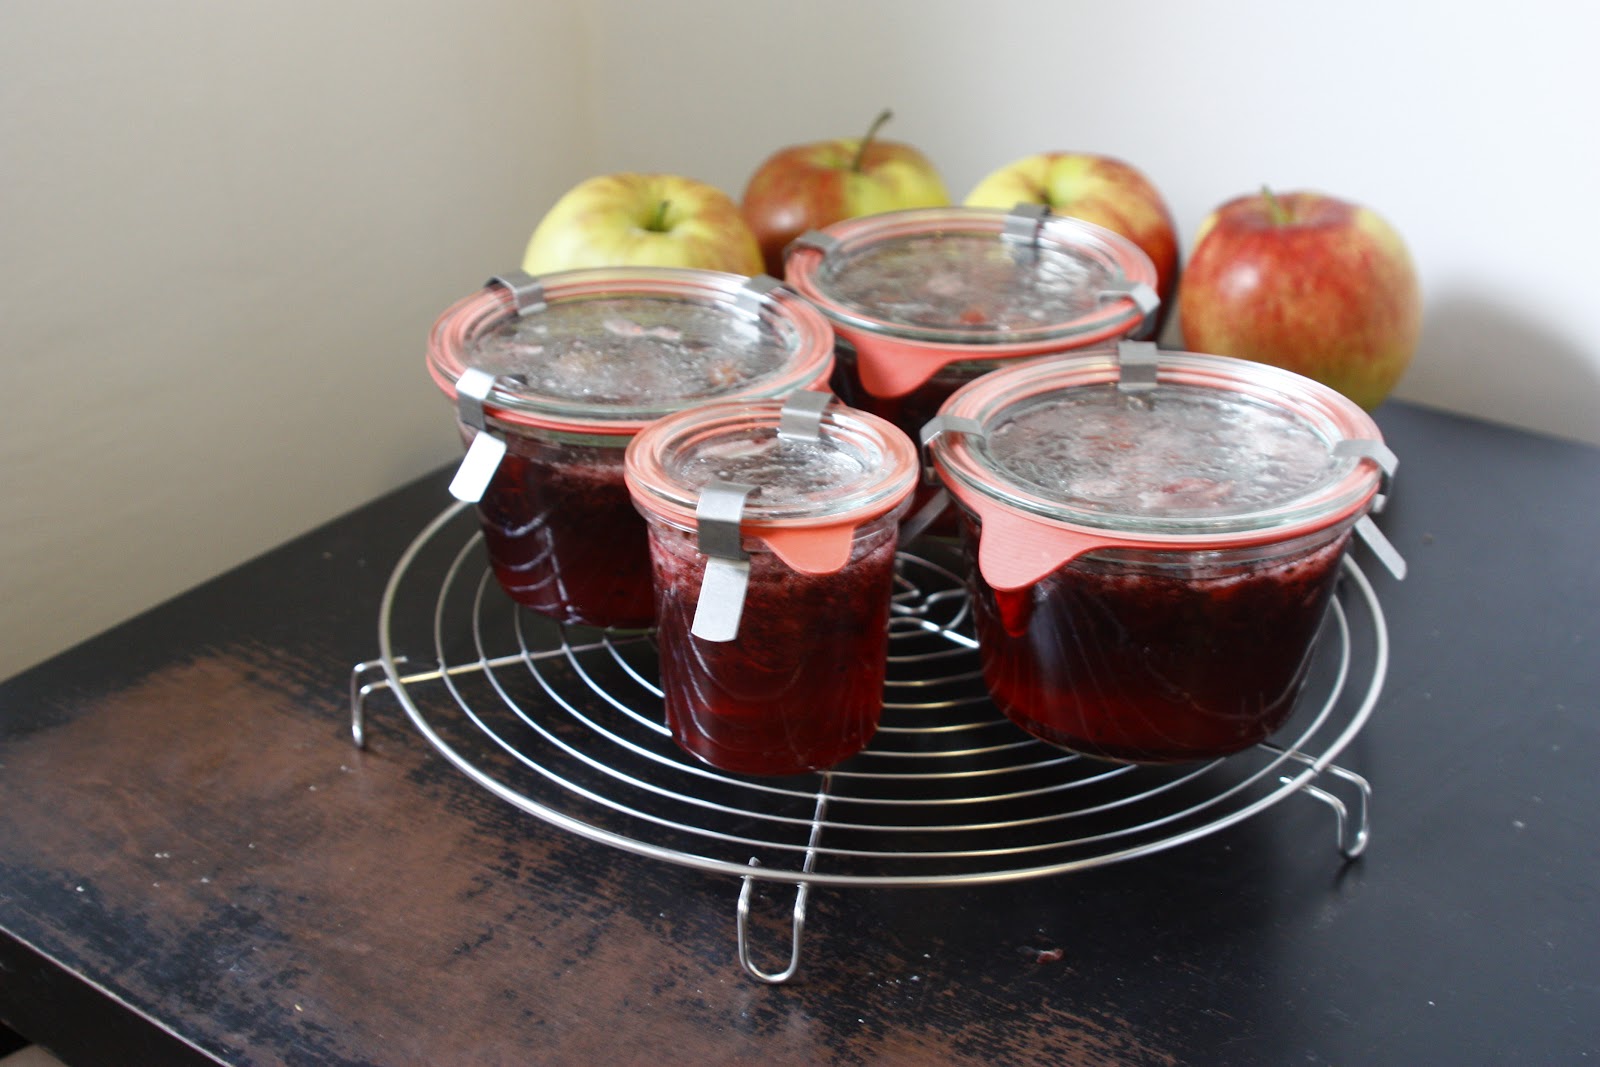
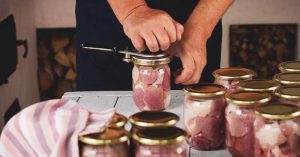
3rd are the clips or as Weck calls them “clamps”. Each jar uses 2 clamps to hold down the glass lids on top of the rubber rings when you are water bath canning them. You want to make sure that you fasten the clamps all the way down like in the picture below and just like Ball do not remove them until the next day when the jars are completely cooled. These would be like your rings on Ball jars.
Each of these three components are also sold separately if you could loose, break, or wear out there ability to be used. These are sold on the Weck site under “Accessories”.
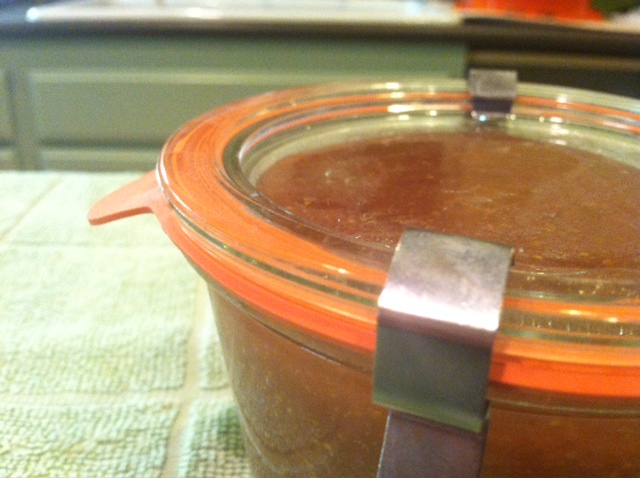
After completion of processing the following day when you remove the clamps you will gently lift the jars by the lids in order to ensure that the lids have sealed. Again a clear indication is that the tab is in the down position. If a jar has not sealed you can reheat the lids and ring and reprocess or just put that one in the fridge to use first.
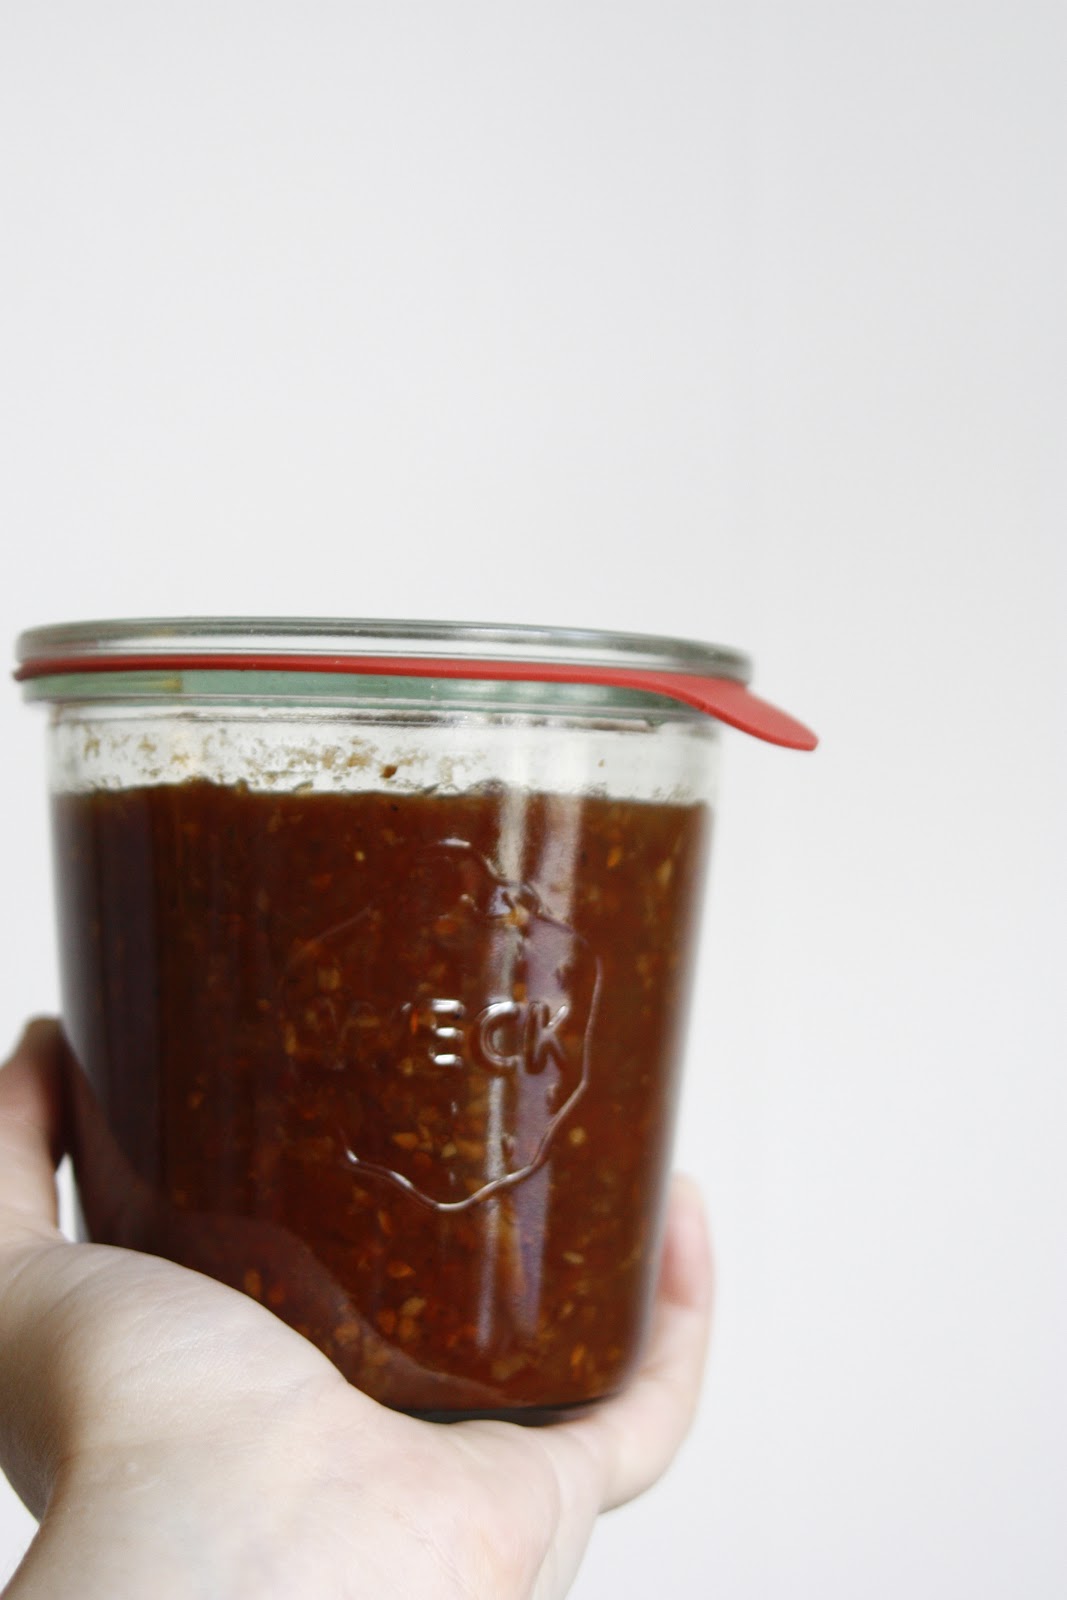
I did my first batch using the Weck Mold (not the bacteria) jars since I figured it would important to impart some wisdom with regard to the difference in Ball/Kerr and Weck jars and their ease of use.
There are additional tools that are needed with Weck so that you can lift the lids and jars in and out of the water bath. Here is a picture of the Weck jar lifter which is especially designed for these glass on glass jars:
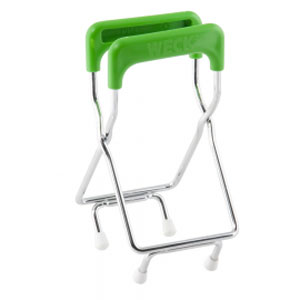
I used my Ball jar lifter but it would be easier with one of the ones above made by Weck. With regard to headspace, make sure to fill the jars a bit less than the recommended headspace (~ 1/4″). The glass lids are formed with an indent and will set inside the jar about 1/4″ when sealed. The headspace measurement is still important but a little more difficult to accurately measure.
The processing times to follow are the same as any canning recipe but again fishing the jars out takes some practice. Some are wider and not as many fit into the base of the water bath canner like the Ball/Kerr jars. You should do a dry run to see how many will fit in the pot you are using.
The rubber ring and glass lids were easy to add to the jar, but I had a bit of practice on the first batch figuring how to get the clamp down all the way. I did it and the canning was successful, but I can tell this will take some practice just as it did with the Ball jars.
The rules of stacking are also the same for these jars in that you don’t want to stack in case you have a jar that has bacteria and the jar on top will put weight on the jar below and possibly reseal it trapping the bacteria inside. I will use these again for special projects but not sure that they are as practical for shelf space and cost effectiveness.
Below I thought many of you might need to have some kind of close conversion when a recipe says it yields 4 half pint jars, how many Weck jars do you need and what size.
Also I am including some pictures from a follower in Sweden that can not find the Ball/Kerr jars inexpensively and uses Weck since they are the least costly in her country.
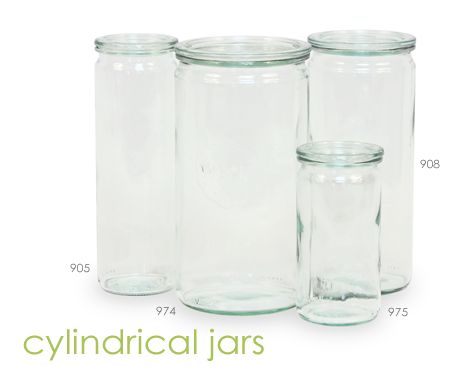
| Weck Style | Size | Ball/Kerr | Size |
| Cylinder | |||
| 975 | 11.5 fl oz | Tall Jelly | 12 oz |
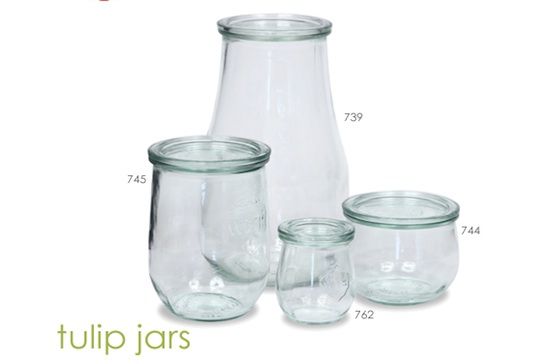
| Tulip | |||
| 744 | 19.6 fl oz | Pint or Pint and a Half | 16 oz or 24 oz |
| 762 | 7.4 fl oz | Half Pint | 8 oz |
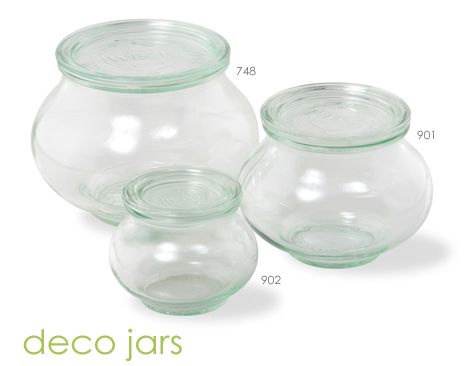
| Deco | |||
| 902 | 7.4 fl oz | Half Pint | 8 oz |
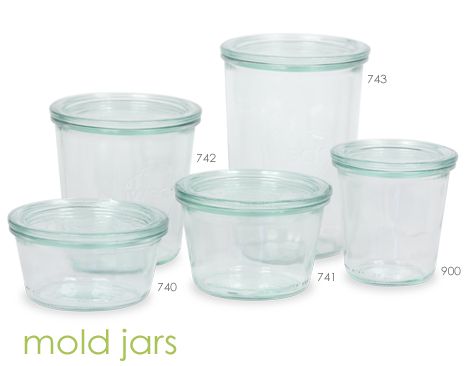
| Mold | |||
| 740 | 9.8 fl oz | Half Pint | 8 oz |
| 741 | 12.5 fl oz | Tall Jelly | 12 oz |
| 742 | 19.6 fl oz | Pint or Pint and a Half | 16 oz or 24 oz |
| 900 | 9.8 fl oz | Half Pint | 8 oz |
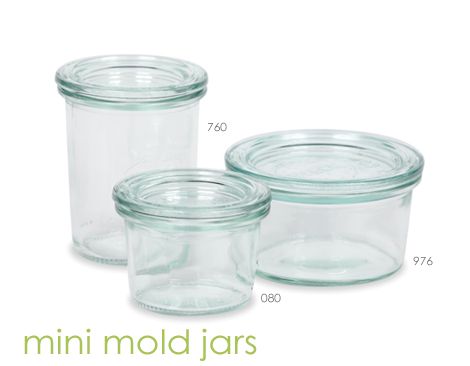
| Mini Mold | |||
| 80 | 2.7 fl oz | Quarter pint | 4 oz |
| 760 | 5.4 fl oz | Quarter pint | 4 oz |
| 976 | 5.6 fl oz | Quarter pint | 4 oz |
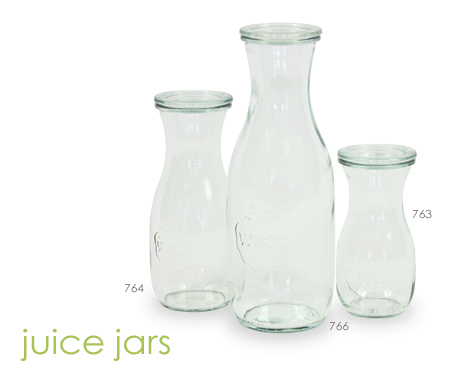
| Juice | |||
| 764 | 17.9 fl oz | Pint | 16 oz |
| 763 | 9.8 fl oz | Half Pint | 8 oz |
| 766 | 35.9 fl oz | Quarts | 32 oz |
Here are the styles from www.weckjars.com so that you have a visual of there shape and item number.


Leave a Reply