As a kid sauerkraut was my favorite thing to have on my hot dogs. Probably since I just wanted mine to be just like my dads who not only loved it that way but would ask for a side of it to go! At home we would have fried cabbage since my mom was so southern in the way she cooked. A little olive oil in the bottom of the frying pan and then rough chopped cabbage continuously cooked down till the caramelization of the cabbage was so yummy it didn’t taste much like what it started out to be. For my birthday dinners as a kid I would ask for mom to make her cabbage, green beans with new potatoes with a bit of pork fat, and meatloaf. Such a winning combination for the daughter of a southern cook.
As I got older I came to appreciate the flavor of the fermented cabbage again and during the certification as a Master Food Preserver we discussed and read about how the process of fermenting was accomplished. I have been blessed with two fantastic fermenters on my page that help me answer a lot of the questions when it comes to making and canning sauerkraut. Dayna and Kym both do their own sauerkraut from scratch and then can it afterward for keeping it shelf stable. They both know that all the good bacteria we build up as we wait patiently for the fermenting to create goes away when we process the cabbage in the water bath. The result is an amazing sauerkraut that rivals any you can buy in the store.
Here is the recipe written by Dayna and the step by step process photographed by Kym in making her latest batch. At the end of the post is how to process the batch using the water bath method. I hope that this is really helpful to those who would like to give it a try! A special thanks to Dayna and Kym for all their work!
From Kym:
We currently have 2 crocks of kraut going, one is a 10 gallon, and the other is a 1 gallon. The total weight of shredded cabbage was 61 lbs. The 1 gallon came into it because I didn’t have enough head-space for the brine to rise in the 10 gallon once it was covered with weight. (This will be explained in the photos)
How to get started:
Shred and weigh your cabbage. For every 5 lbs of shredded cabbage, use 3 T of canning/pickling salt. In the crock or glass jar alternate cabbage and salt, tamping well between layers to release juices. Pack very tight.
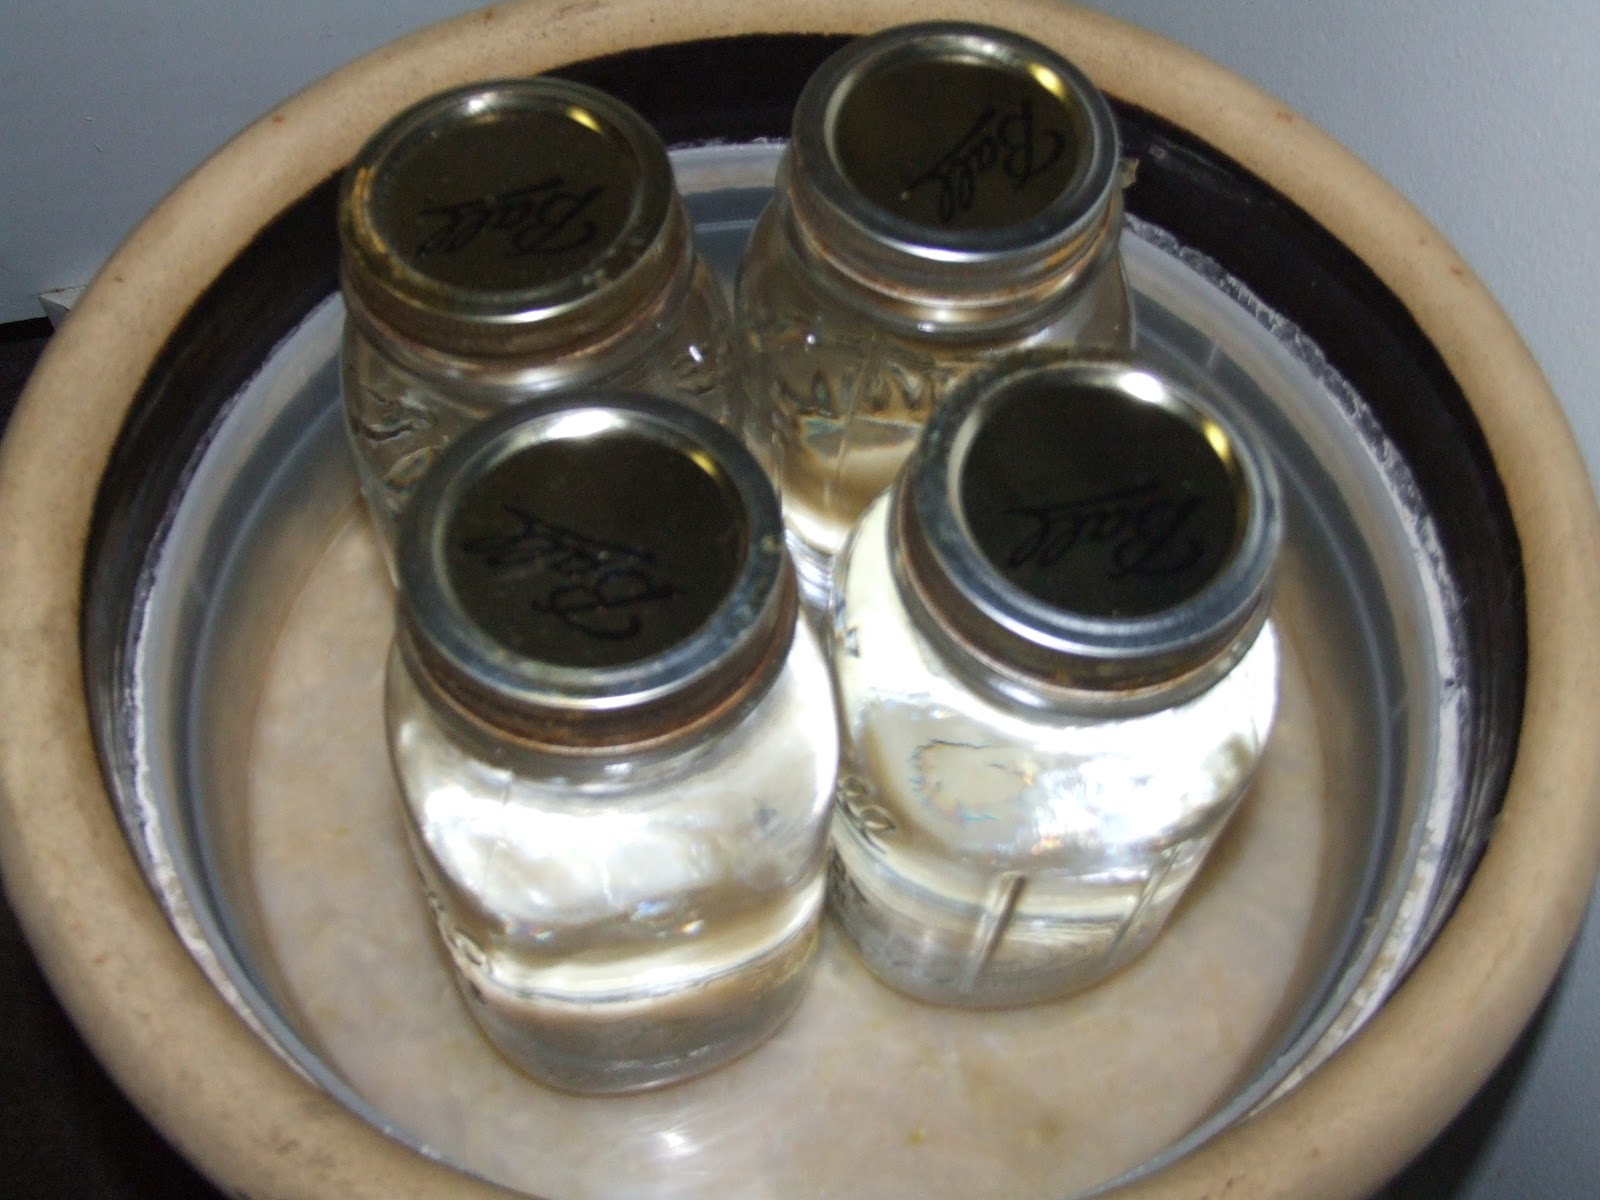
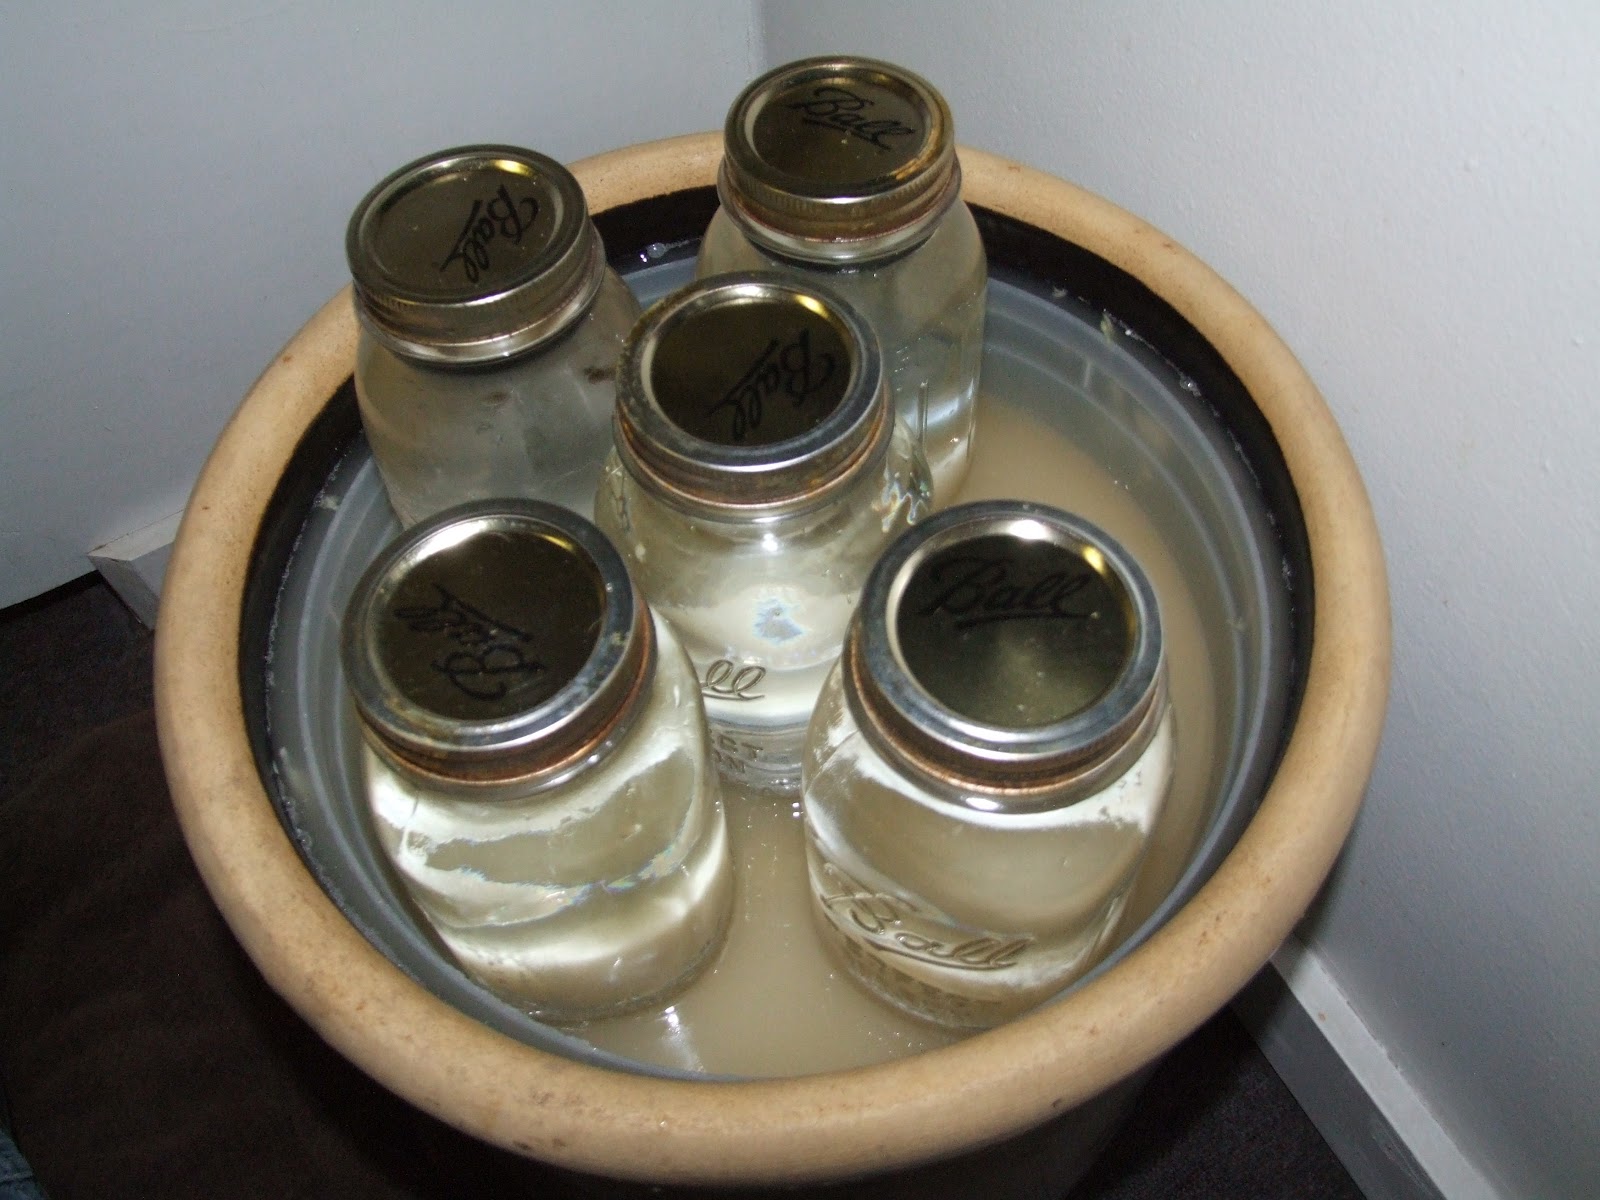
If you don’t have enough juice to cover the cabbage in the jar or crock, make a brine solution of 1T canning salt to 1 cup water and pour over cabbage to cover. Lay a piece of Saran Wrap or other plastic wrap (no Cling wrap) loosely over the top of the jar or if you are using a crock use a a plate or something that will fit over the top. Use jars of water to hold down the container.
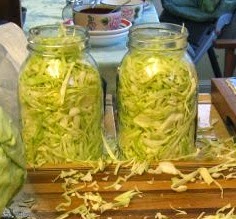
If you are using jars to do the fermenting place them in a square cake pan or pan with sides to catch any overflow when the sauerkraut is fermenting. If you are using a crock you will want to make sure that your headspace has enough room for the brine to rise.
Put a light weight kitchen towel, like a flour sack towel, over the top of the jars or a towel as you will see below for a crock. Find a place that the kraut can ferment at a temp of 55 – 70.
This is Kym’s photo journal of the process of how to remove scum and continue the fermentation for the 4 weeks.
 1. Remove the towel – the yucky part. My kraut is held down with a generic tupperware container (the pie/cupcake size) weighted down with jars full of water. Notice the brine level is at edge of plastic container where scum line has formed.
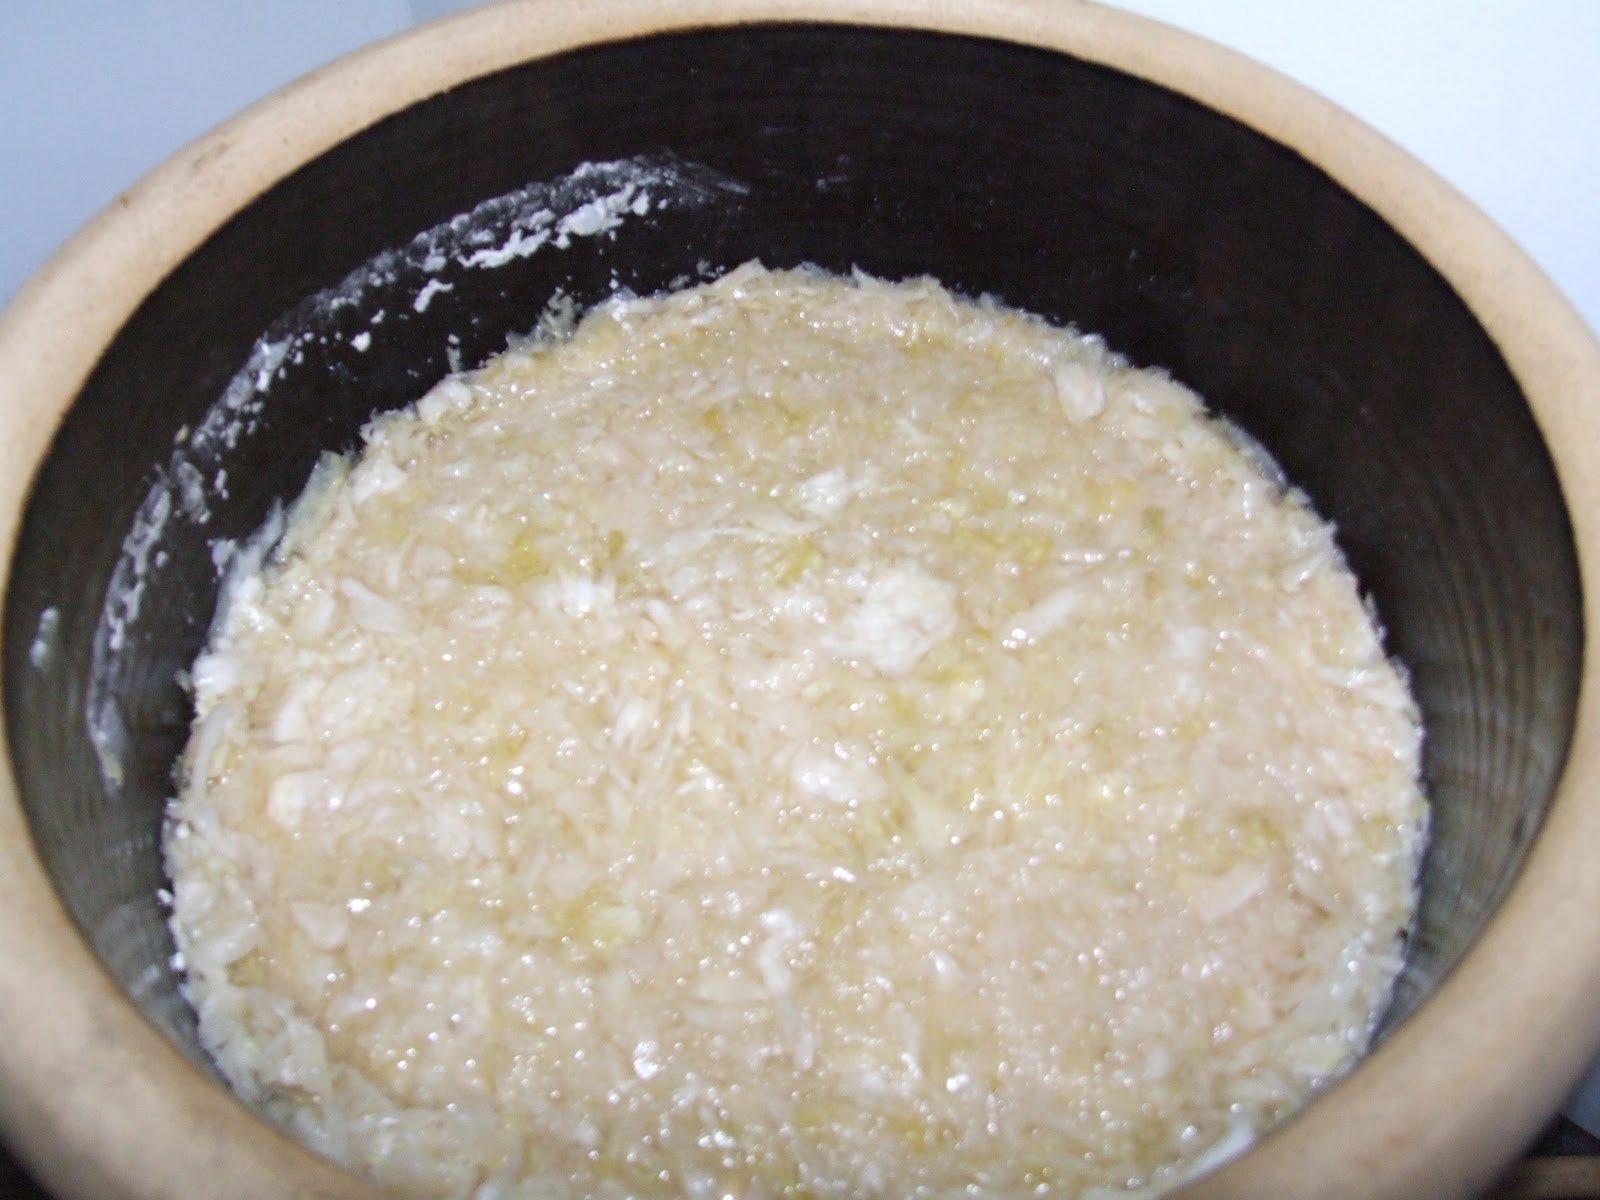 2. Clean off the scum and mold – I wipe down sides, and run my fingers over the top of the kraut to make sure it still feels fresh and not slimy. If it is slimy, I just remove it until it feels fresh, discarding the slimy stuff. (This usually happens if the brine isn’t deep enough over the kraut; about 3 inches deep is what you want.)
 3. Check brine level – When you remove the top weight, the kraut will sometimes lift up, allowing the brine to go to the bottom. I placed the lid to my plastic container on top and pushed down. Notice that I couldn’t get enough brine back up, it was about 1/2 inch deep.
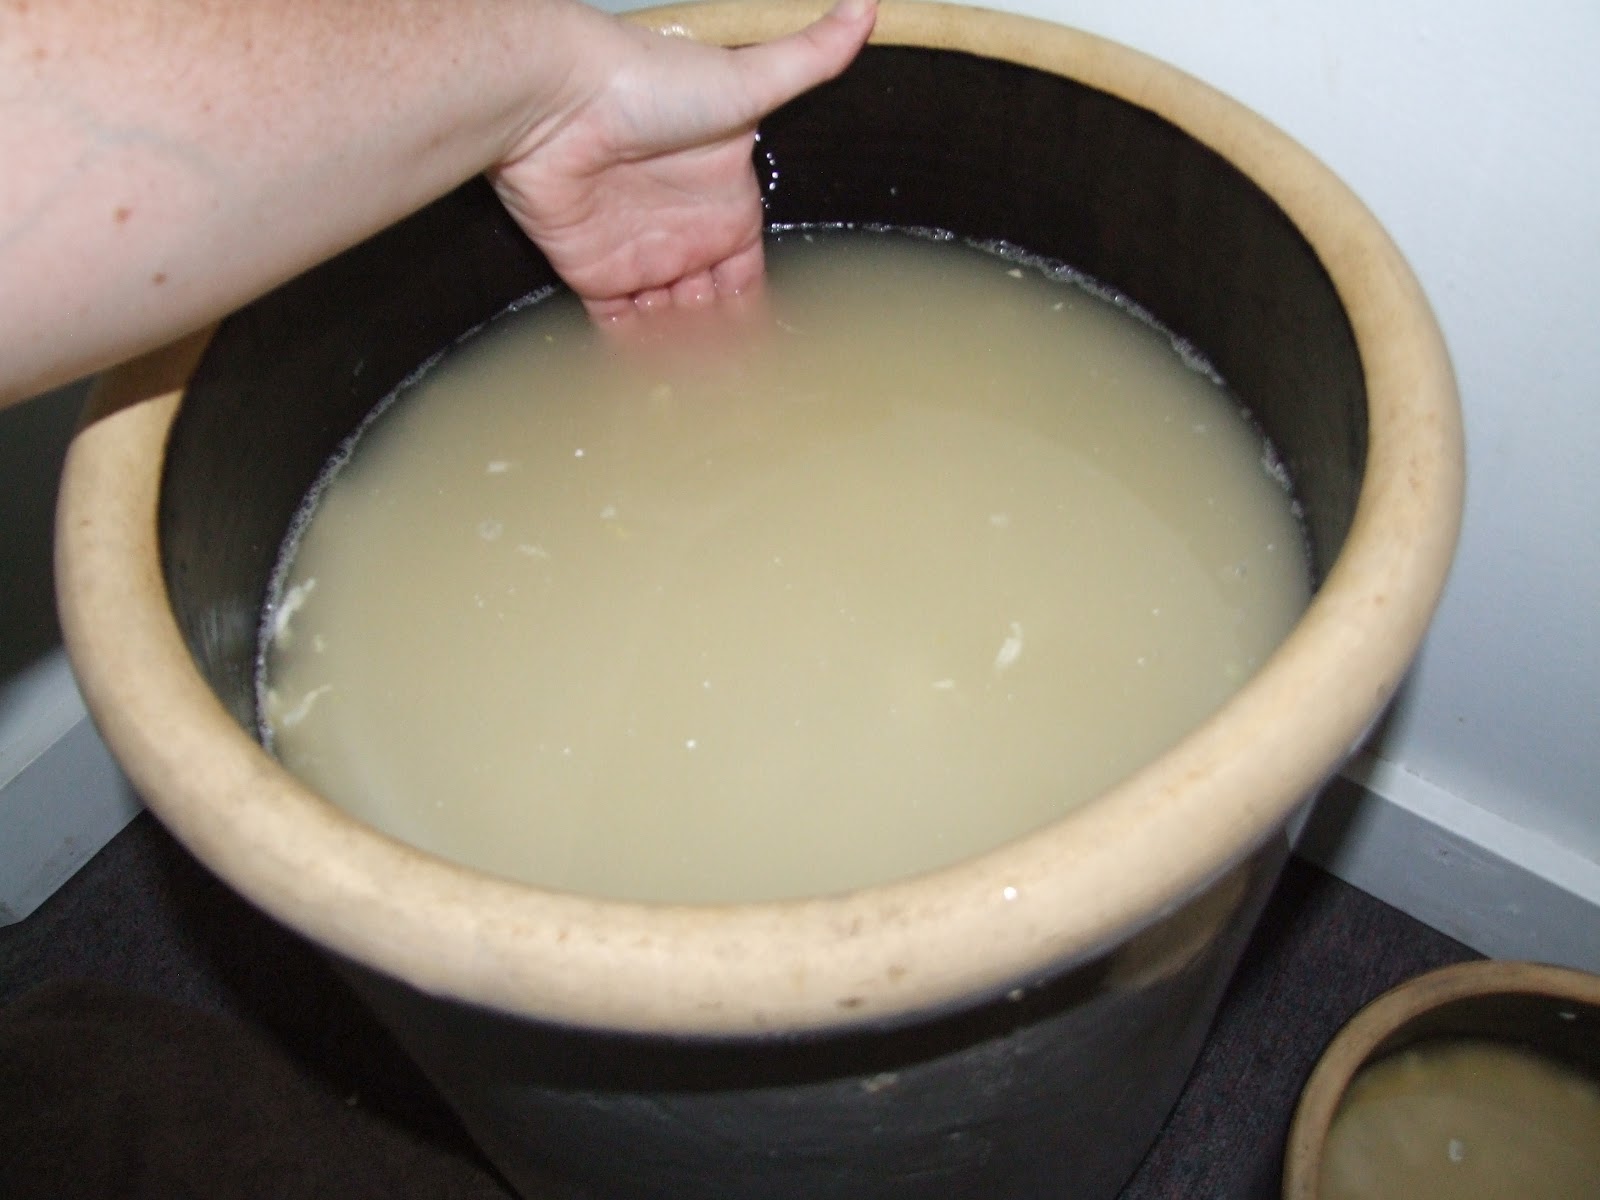
4. Added more brine – I had to add 2 quarts to raise it up, so I mixed 1 1/2 Tbsp to each quart of room-temperature water and stirred until all salt is dissolved. I needed to add 2 quarts.
5. All cleaned up and weighted down again. After cleaning off the plastic container and jars, I added them back to the crock. I added an extra jar of water on top to help keep the brine level at the top of the plastic.
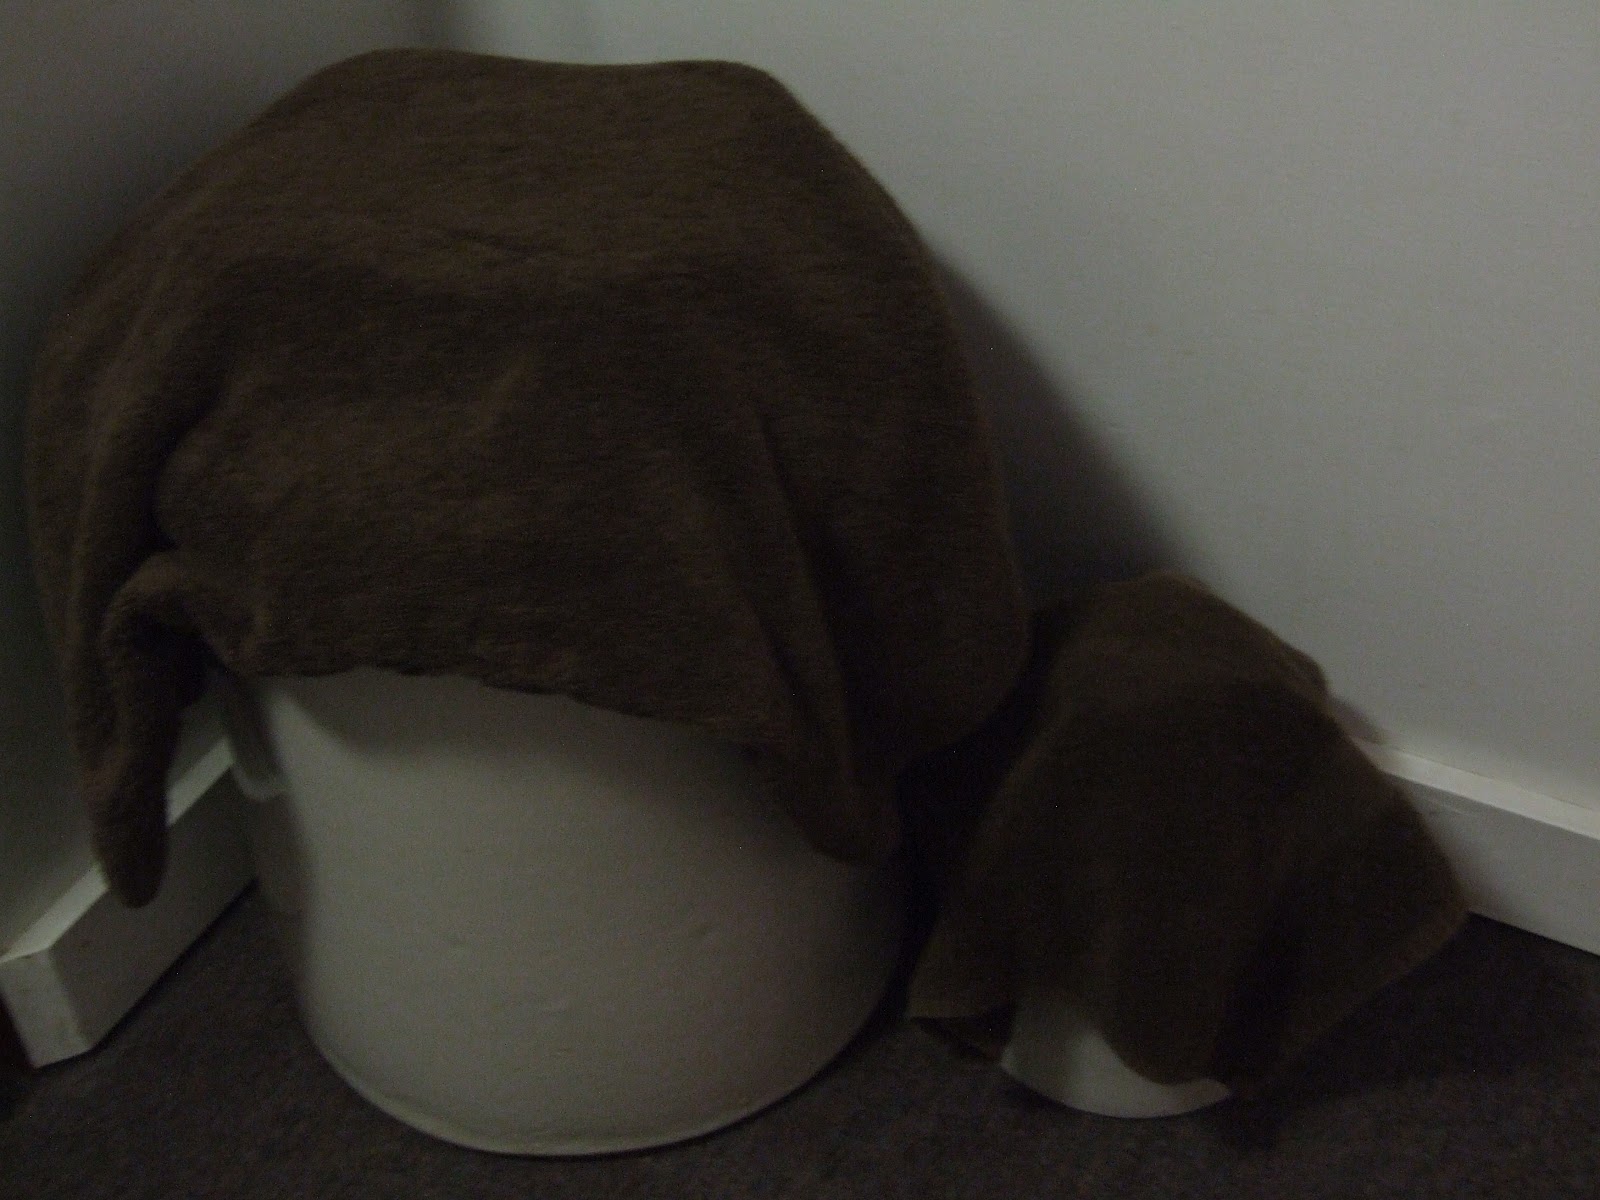
6. Crocks ready to do their magic again – The towel keeps out the fruit flies and helps to keep the kraut smell down.
We check the kraut every 2 to 3 days. If scum has formed, we run our finger along the edge of the container to remove it. Every Saturday, we clean the crock. (Remove jars and container, wipe down edge of crock, wash jars and container, place back in crock and recover with towel.) The warmer the room, the more scum will form. The colder the room, the longer it will take to ferment.
When it’s to your liking, empty the jars or the crock after cleaning into a large pot. You can either hot pack or raw pack for water bath canning.
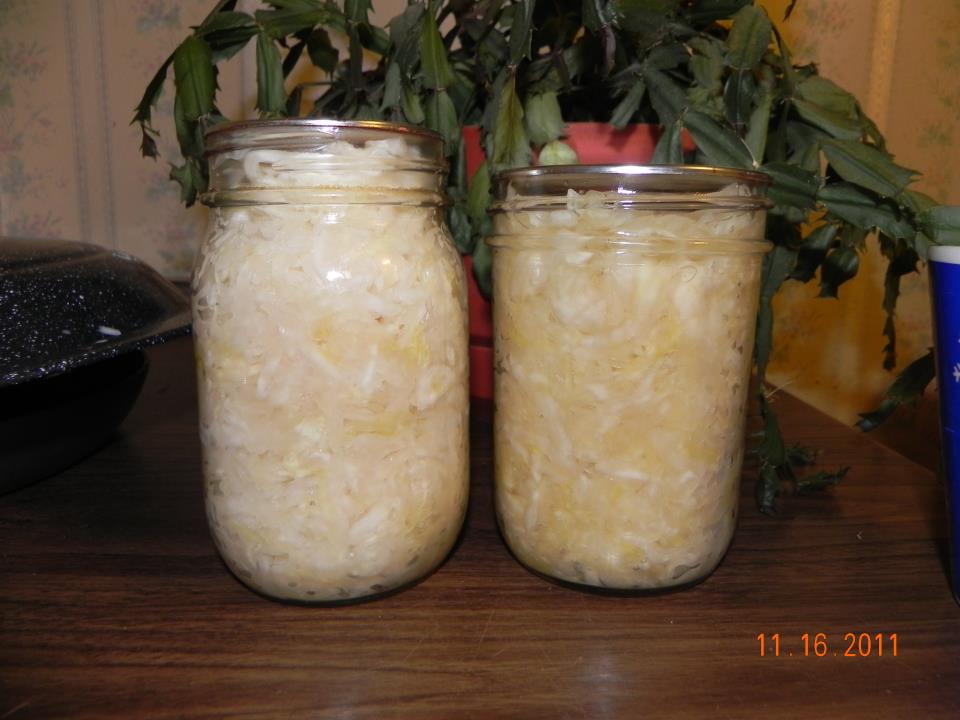
Hot pack – Bring kraut and liquid slowly but do not boil, stirring frequently. Remove from heat and fill jars rather firmly with kraut and juices, leaving 1/2-inch headspace.
Raw pack – Fill jars firmly with kraut and cover with juices, leaving 1/2-inch headspace.
Adjust lids and process according to the recommendations below
| Recommended process time for Sauerkraut in a boiling-water canner. | |||||
| Process Time at Altitudes of | |||||
| Style of Pack | Jar Size | 0 – 1,000 ft | 1,001 – 3,000 ft | 3,001 – 6,000 ft | Above 6,000 ft |
| Hot | Pints | 10 min | 15 | 15 | 20 |
| Quarts | 15 | 20 | 20 | 25 | |
| Raw | Pints | 20 | 25 | 30 | 35 |
| Quarts | 25 | 30 | 35 | 40 | |
From The Complete Guide to Home Canning!


2 Comments
Johnny Mac
Posted on: March 13, 2020I would love to try this. Is the complete guide to home canning a dependable source of information to ensure this is safe and approved?
Cheryl Lynn Cole
Posted on: March 13, 2020I think I packed my jars to tight.There is very little brine in my jars.Should I empty them all and redo them with more brine?